Chromebooks are cloud-oriented, speed-centered machines that employ the Chrome browser as their right-hand man. However, as time has progressed, ChromeOS has managed to integrate with Google’s ecosystem so profoundly that many of the developer’s proprietary apps work like a charm on a Chromebook.
One of those apps is Google Photos—one of the world’s most well-grounded photo-sharing and storing platforms. If you want to acquaint yourself with Photos on a Chromebook, this guide will help you carry that out. We’ll discuss all of the Photos’ best features, including how to utilize the platform to the best of its ability.
Let’s get started right away.
- Recommended read to along with Google Photos: 7 easy ways to organize your Google Drive.
What is Google Photos?
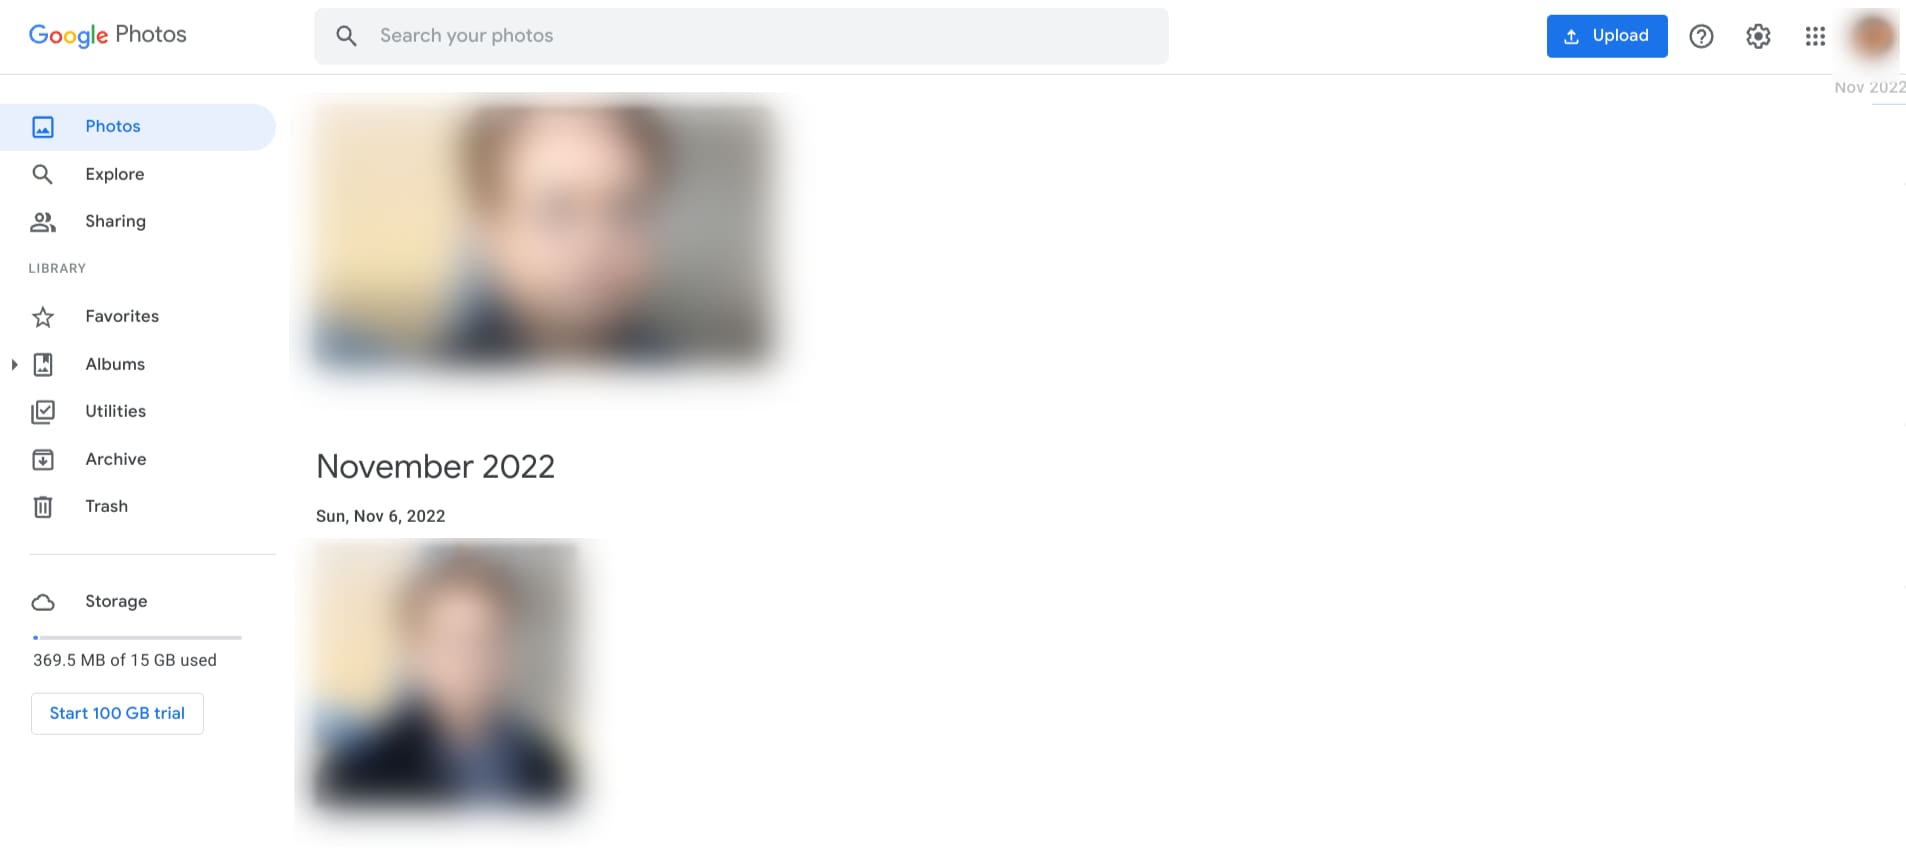
Google Photos home page
Announced back in 2015, Google Photos originated from humble beginnings and eventually found its own purpose after a derivation from Google+, the company’s initially successful social network. The soaring success of Photos came rushing in year after year as soon as it was launched.
Five months into the release of the service, Google Photos accumulated 100 million users. Fast forward to 2023, more than 1 billion registered Google Photos users are spread out worldwide. Google has even reported that more than 4 trillion photos are stored in its database of Photos as of 2020.
Although this application is more suited to mobile operating systems, such as Android and iOS, considering how we rarely ever use the webcam of our laptops to snap pictures, Google Photos is available to use on the web as well. Thanks to the service being cloud-first, it automatically syncs your stored data across different devices just with a prompt sign-in.
Even more so, you’ll find Photos offering an incredibly easy-to-use interface, both on the web and mobile. However, note that your further options and advanced features are limited to a certain extent when you’re using Photos on the web, given how the app is primarily built for mobile-relevant operations—snapping a photo and saving it right away.
The primary function of Google Photos is to store and save your snaps and images. Over time, Google Photos has become pretty advanced, and it now lets you edit your photos, share them around, and even create albums, among other notable functions that we’ll review in the next section.
Outside of all that, Google Photos is a part of Google One, the tech tycoon’s cloud storage subscription service, spanning a multitude of different Google apps, including Photos, Drive, and Gmail. The free storage of each of these apps is 15 GB, but upgrading to Google One bumps that figure to 100 GB.
Best features of Google Photos
Now that you understand what Google Photos is and what it does let’s review some of its most defining features. Make sure to stick out until the end as we explain how Photos can be used on ChromeOS and what helpful tips and tricks can be employed to go along with that.
Offline functionality
One of the most critically acclaimed features of Google Photos revolves around its offline functionality. So if you know you’re going to be traveling to a place where internet connectivity is going to be scant, you can plan ahead of your trip and make your photos work offline.
However, the best part here is that you don’t have to flip a switch or anything of the like. Your stored images and snaps are already available offline in Photos. The application’s core functionality mirrors your native Gallery app on your phone, with all the robust editing tools and other features included.
Photo quality selection
If you’re using a free Google Photos account with relatively less storage, you can choose to manage your available space by specifying the quality with which your images will be saved in the cloud. A distinct functionality called “Backup quality” will help you switch between passable or high photo storage quality.
Depending on your use case, settling for satisfactory photo quality and cutting back on storage is possible. However, if that isn’t a concern, and you’ve already purchased more storage for your cause, feel free to go all in and choose the high-quality option instead.
Easy storage management
Google Photos is loaded with in-built storage management tools to help you avoid duplicate and unwanted photos. It employs an intelligent scanning system that detects images resembling each other strongly. Afterward, it asks you to weed out the clutter and make your account more storage-smart.
To begin, you can easily tap on your profile picture and access the space management functionality. Next, tap on the “Manage storage” or “Free storage” options, which will help you tidy up your cloud storage account almost painlessly.
Partner Sharing
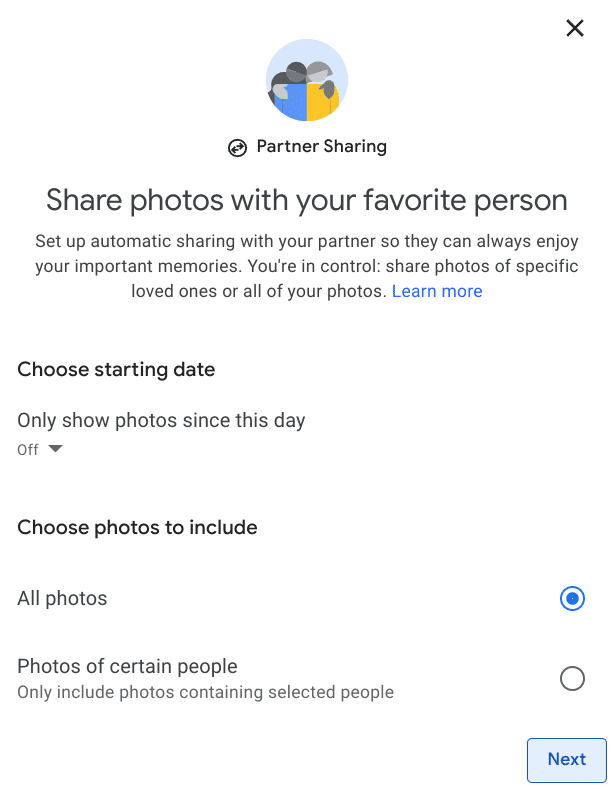
Partner Sharing in Google Photos
Google Photos makes it easy for couples to cherish memorable moments, whether visiting a new country, visiting a restaurant, or sharing an instant of love and capturing it on their phone. The “Partner Sharing” feature creates a shared album where you and your spouse’s accounts are linked.
Any photo that the two of you take involving each other will automatically be backed up in this specific album, allowing you to relish your relationship in the times to come. To get started with the feature, navigate the Google Photos app on your mobile phone or PC, tap the “Settings” section, and choose “Partner Sharing.”
You can then immediately tweak some of your preferences related to the functionality in the wake of enabling this functionality. “Partner Sharing” is a great way to keep up with each other and ensure no collective photo of you and your spouse goes to waste.
Albums
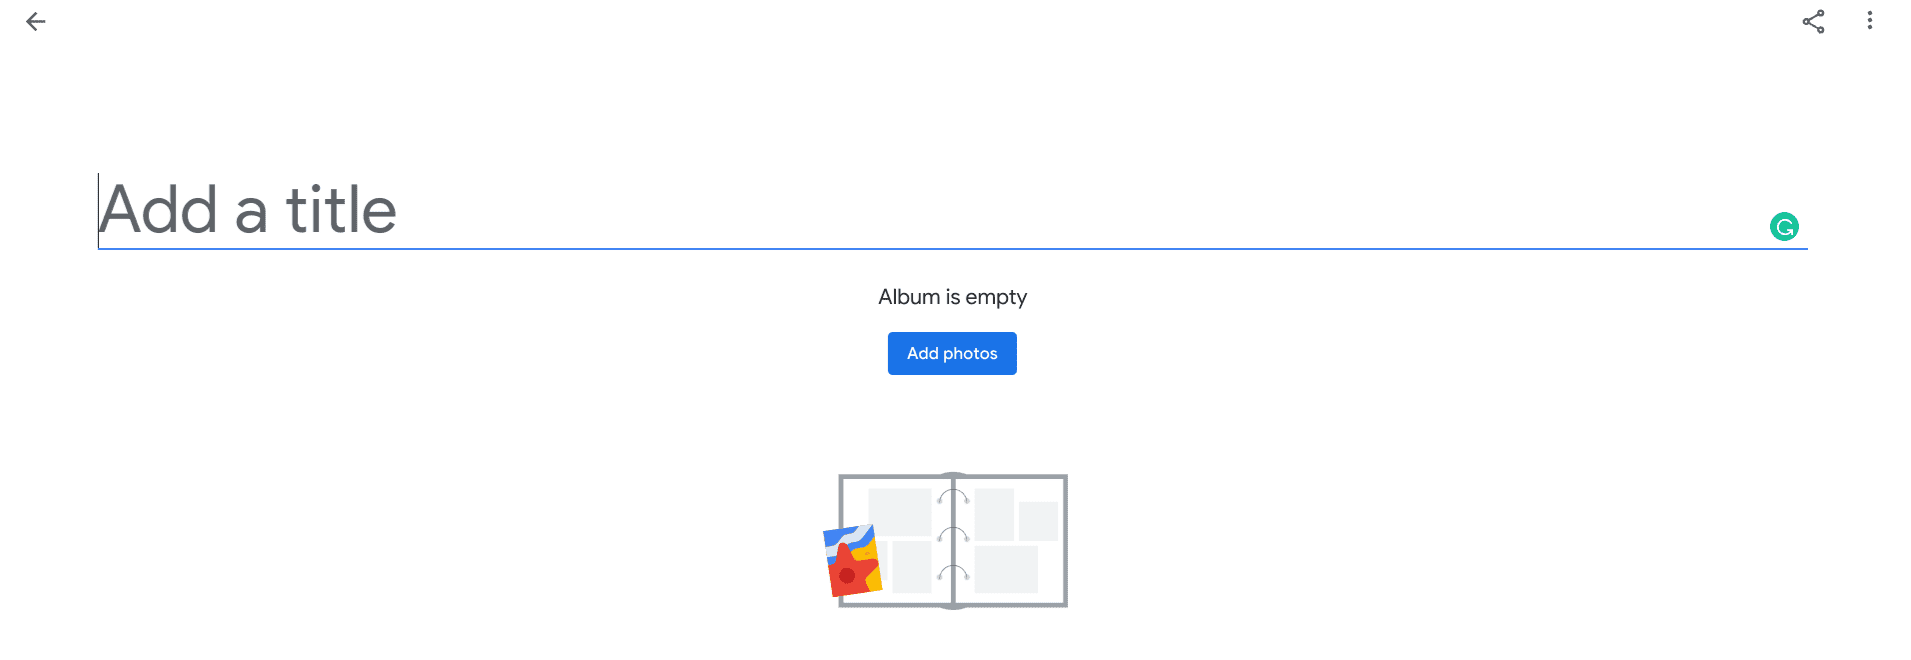
Album creation in Google Photos
Album creation is one of the major features of Google Photos. It’s a simple functionality that allows you to group multiple photos, give the whole bundle a name, and make edits within the album. Moreover, you can share the entire album with anyone using a link through another Photos feature called “Link sharing.” More on this ahead.
Link sharing
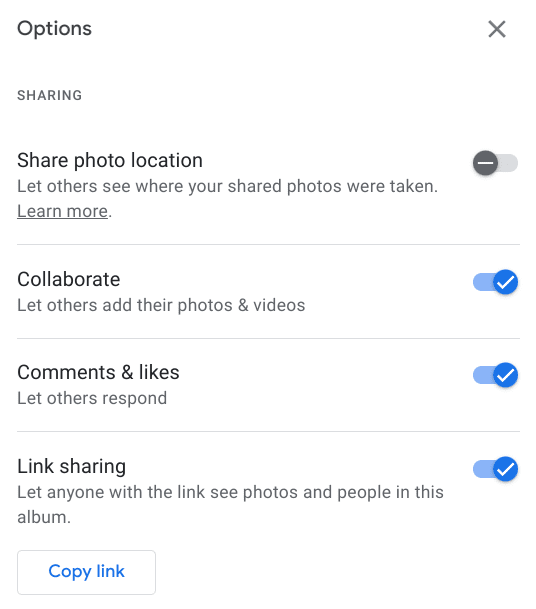
Link sharing in Google Photos
Link sharing in Google Photos is a specialized way of sharing your stored images with others the easiest way possible. The idea here is to share the live link of an entire album comprising a bundle of photos. The link will then be sent to the person you wish to view the collection of your photos, allowing them easy access afterward.
To start link sharing, head over to any album you’d like to share and click on the three vertical dots in the top-right corner. Choose the “Options” button after that, and you should be able to visualize an overlay menu appearing on the screen. Next, enable the “Link sharing” feature and copy the link using the given button.
Advanced search functionality
Over time, the developers of Photos have constantly tried refining some of the innate tools of the cloud-based platform. For instance, the search bar present inside the program can now intuitively scan your database of saved photos and make efforts to filter your search results as well.
You can enter various keywords, such as “animals,” “food,” “places,” etc., and Photos will look for images that are relevant to your search. This is undoubtedly a game-changer for people who have subscribed to Google One and thus have tons of extra storage so that they will keep quite a few photos in their Google Photos account.
Using Google Photos on ChromeOS
Google Photos can be utilized on a Chromebook in various ways. In this section, we’ll be going through the ones that are super easy to replicate so that you can delve deep into the world of cloud storage with
Option #1. Using the web-based version of Google Photos
One of the most fundamental ways of using Google Photos on a Chromebook is its browser-based version. To begin, visit this link to go straight to the domain. Sign in with your Google account as soon as you’re there, and your stored data will automatically sync on ChromeOS. That’s the beauty of it.
In other news, if you’re using Photos for the first time, you can start uploading images to the cloud database from your Chromebook using the provided functionality. The web-based variant of the application lets you view your albums, edit photos to some extent, set up sharing, and manage your storage through upgrading or filtering.

Google Photos home page
We suggest also checking out the “Settings” section of the Photos app. It’s loaded from top to bottom with an array of different options, all of which are catered to tweak your default user experience. Try it yourself and then move on to the Google Play Store variant of the Photos app if the latter does not quite cut it for you.
Option #2. Downloading the Google Photos app from Google Play
The Google Play Store is a major constituent of a Chromebook’s overall feature set. Back in 2016, the developers announced the arrival of the famous Android storefront to ChromeOS. Since then, this operating system has grown, given how we’re surrounded by high-quality Play Store apps to download and enjoy.
With that said, those who own an older model Chromebook—especially one manufactured before 2018—should first check whether their device is compatible with the Google Play Store feature before proceeding.
Our guide on Chromebooks that run Android apps should walk you through that procedure step by step. After clearing Google Play’s availability, follow the steps and learn the installation of Google Photos.
1. Get started by opening the Play Store app on your Chromebook. Then, use the “Search” key or the launcher area if you have to.
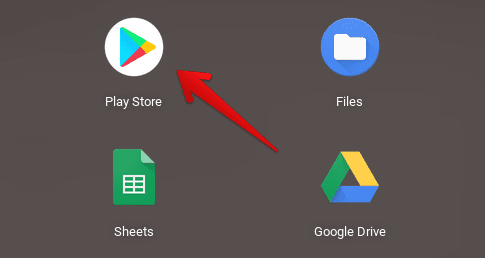
Opening the “Google Play Store”
2. Utilize Play Store’s in-app search bar to look for Google Photos. Type in the app’s name and press the “Enter” key to the next step.

Searching for Google Photos
3. You should now be taken straight to the official app page of Google Photos. Click on the “Install” button there to begin the download.

Installing Google Photos
4. Look for the Google Photos app in the launcher area when the download finishes. The program is bound to be there after its successful installation.
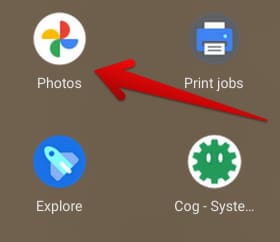
Google Photos installed
That’s all there is to know about installing Google Photos via the Play Store method. Before we conclude the write-up, let’s look at some tips and tricks that can help you revamp your Photos experience on the fly.
Helpful Google Photos tips and tricks
If you were wondering whether it’s safe to delete photos from your device after backing them up to Google Photos, feel free to rid your system of any photo after it gets stored on the famous cloud-based platform. That’s because images, once backed up to the cloud by Google Photos, are made to stay there—all safe and secure—until you delete them.
You can also link Google Photos to Google Pay to seamlessly integrate the two channels. On the other hand, if you intend to use the popular platform with your family, here are five great tips to ensure you start the right way. Furthermore, there’s the ability to turn regular images into cinematic photos just with a couple of taps.
- Related guide: How to enable Google Lens in Google Photos easily.
Conclusion
Chromebook users can painlessly rely on a service as well-developed as Google Photos to store their images and pictures securely. ChromeOS benefits from a deep-dyed integration with major Google apps, including Google Drive, Google Meet, and even Google Chat, where dedicated PWAs can be installed for easy access.
In this guide, we’ve discussed Google Photos in detail, its noteworthy features, and all the ways you can make the best of it on a Chromebook. So drop your thoughts and comment below whether there’s anything about Photos you need help with. As always, Chrome Ready wishes you good luck!
