Google Jamboard is widely recognized as an interactive digital whiteboard that can help you conduct virtual meetings, indulge in remote collaboration, and even make a productive brainstorming session possible. For those trying to make their presentations stand out, though, utilizing the full-scale of Jamboard’s features is recommended for the best results. But that, however, isn’t so easily achieved.
You have to be aware of the proper techniques to pursue to create engaging and outstanding presentations since Jamboard is a pretty comprehensive tool. The focus of this guide will be to teach you five helpful tips for creating presentations that will last an impression. Make sure to read until the end to implement all the essential information in the write-up. In the meantime, don’t forget to look at our ultimate guide on Google Jamboard.
What to know before getting started
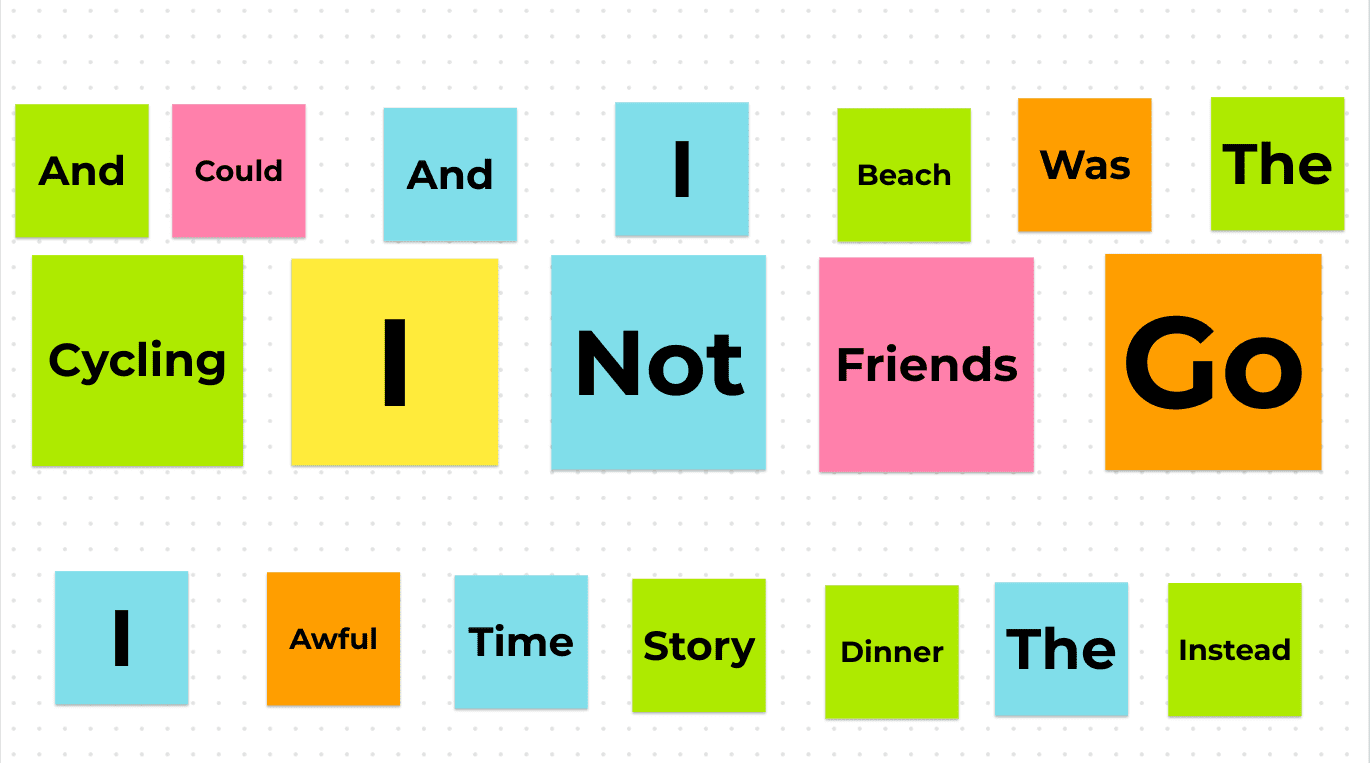
Forming sentences in Jamboard
Google Jamboard can be available for various use cases, including sparking creativity in your classroom if you’re a teacher and hosting virtual meetings in your professional workspace. But when it boils down to creating engaging presentations that truly get the message across and make your audience go “Wow!” you usually have to be above and beyond in research and practice.
If your organization has bought the 55-inch 4K Jamboard device for you, you can employ the included stylus and use it to get better at delivering presentations and acquainting yourself with Jamboard’s features. If a such inventory is unavailable, you may retort to using touch controls on a touch-enabled display. That will still get the job done and help you create a connection with your audience.
In the screenshot above, we’ve shared how the “Sticky note” functionality can be employed to develop a mini-game of one sort in the classroom and help drive classroom engagement. The key takeaway is to be creative and ensure you have an active mind for real-time idea brainstorming. That way, you’ll never run out of presentation topics and different ways to spice things up.
With this said and done, let’s dive into the following section for effective tips on creating stand-out presentations.
5 of the best tips for creating terrific presentations
The following is our hand-picked collection of 5 informative tips to develop remarkable Google Jamboard presentations. While you’re at it, here’s our beginner’s guide to Google Workspace (formerly Google Suite) since Jamboard goes hand in hand with some of the most prominent Workspace apps.
1. Use pre-created templates from external sources
For beginners just starting with Jamboard, there’s a possible way to make your job a lot easier with the help of pre-created templates available across different platforms for Google Jamboard. That way, you won’t have to put in any work trying to create the basis of your presentation. Just make sure to cite the owner of the original presentation wherever relevant, and you’ll be good to go.
Now, what are some of the places you can grab Jamboard templates from for free? Well, you have the likes of Canva, not to mention a website called SlidesMania. Although the latter is more geared toward Google Slides and Microsoft PowerPoint, its functional capacity to accommodate Jamboard users is viable all the same. Feel free to head to the website and pick a presentation type that suits your preferences.

Some of the available Jamboard templates in SlideMania
Another person going by the username of GiftedTawk makes great Jamboard presentations online and allows them for public use. Head over to the Linktree above website and scroll through the options available to explore your choices. Now, the trick is to set each image in the template as your background in Jamboard to proceed. Remember that you can create up to 20 frames in each jam session, so the latter isn’t a problem.
First, you must download the images to your device and upload them to Google Jamboard individually. Next, clear all the editing processes in the Slides application, where you can easily edit specific parts of the pre-created presentation. Once you’ve gone past all of that, feel free to start the upload procedure to Jamboard and carry forth the presentation along.
2. Make sure to incorporate sticky notes
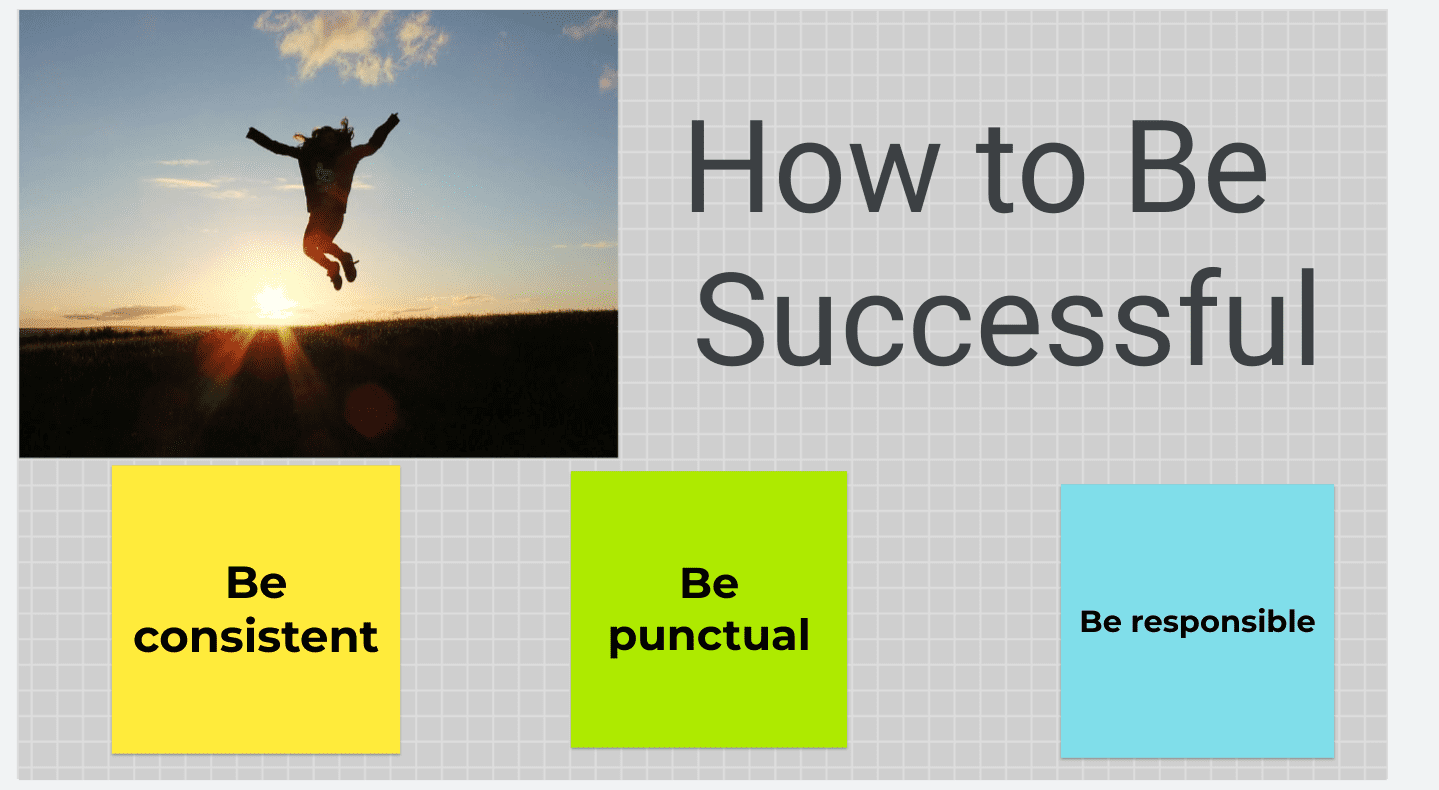
Using sticky notes in Jamboard
Whether using a pre-created template or building one independently from scratch, using sticky notes in Jamboard is necessary if you plan on getting somewhere with your presentation. This is one of the best ways to add depth to what you’ll be presenting to an audience. Look for the “Sticky note” feature on the left side of Jamboard’s UI and click on it to make the overlay menu appear. If you’d like to opt for a shortcut, press “Ctrl,” “Shift,” and “P” together.
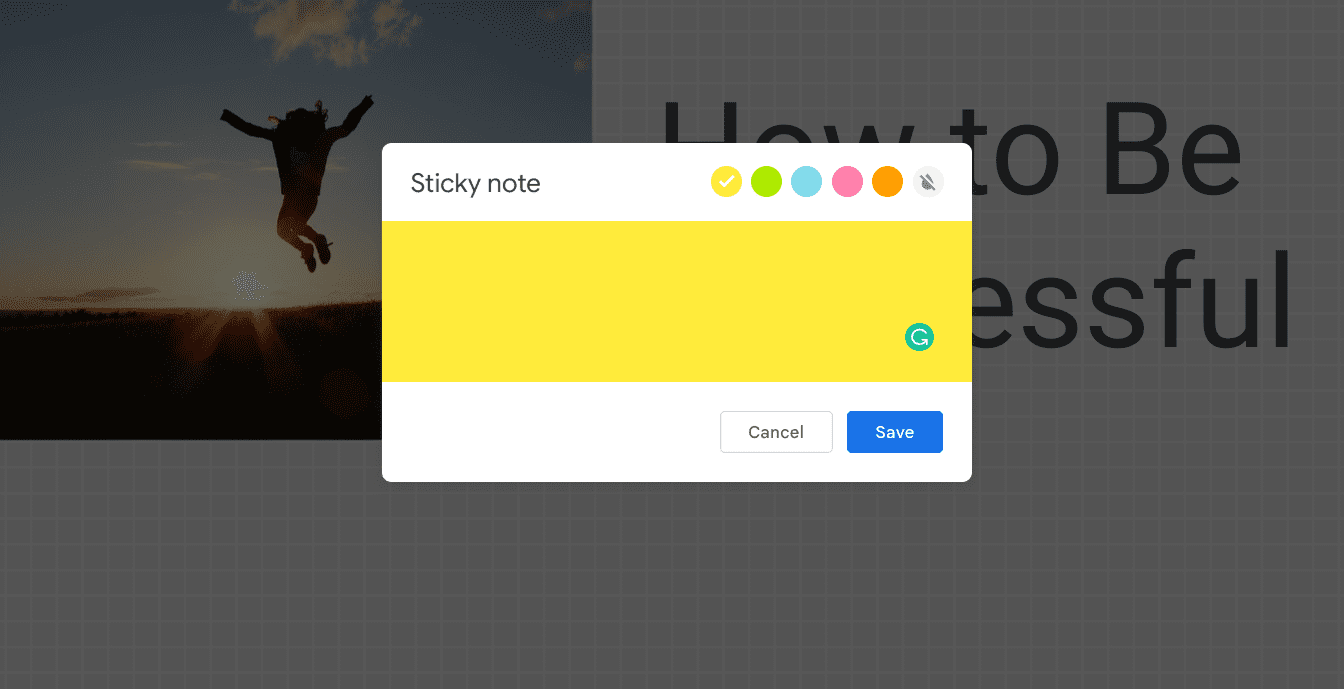
The “Sticky note” feature’s overlay in Jamboard
Use this overlay menu to insert as many sticky notes as you want. You can change the color of the note to make it distinctive and allow your audience to differentiate between different notes. After clicking on “Save,” you’ll find that a note will be added in the background. Once you cancel out the menu, you can increase the sticky note’s size and change its position at will effortlessly. It’s one of the best measures to approach to create engaging presentations.
3. Annotate with text or shapes
Annotation tools are some of the most sought-after features in digital applications, but thankfully, Google Jamboard is chock-full of them. Apart from the creative freedom of the stylus or touch controls, some of the relevant functionalities of Jamboard include “Text Box,” “Shapes,” and “Laser.” All three of these sport their own unique function and are quite capable at the end of the day of making presentations stand out.
First, “Text Box” is a simple means to insert text in your jam session. Whether you’re trying to explain a specific point in your presentation or you wish to detail the focus of your work in some capacity, that can be easily arranged with the “Text Box” functionality. Incorporating it into your jam session is quite easy as well.
All you have to do is click on the relevant feature button on the left side of the screen, and a box will appear accordingly. You can then choose to customize the internals of the box by either changing the size of the text or its color too, not to mention being able to change the size and the dimensions of the box as well.
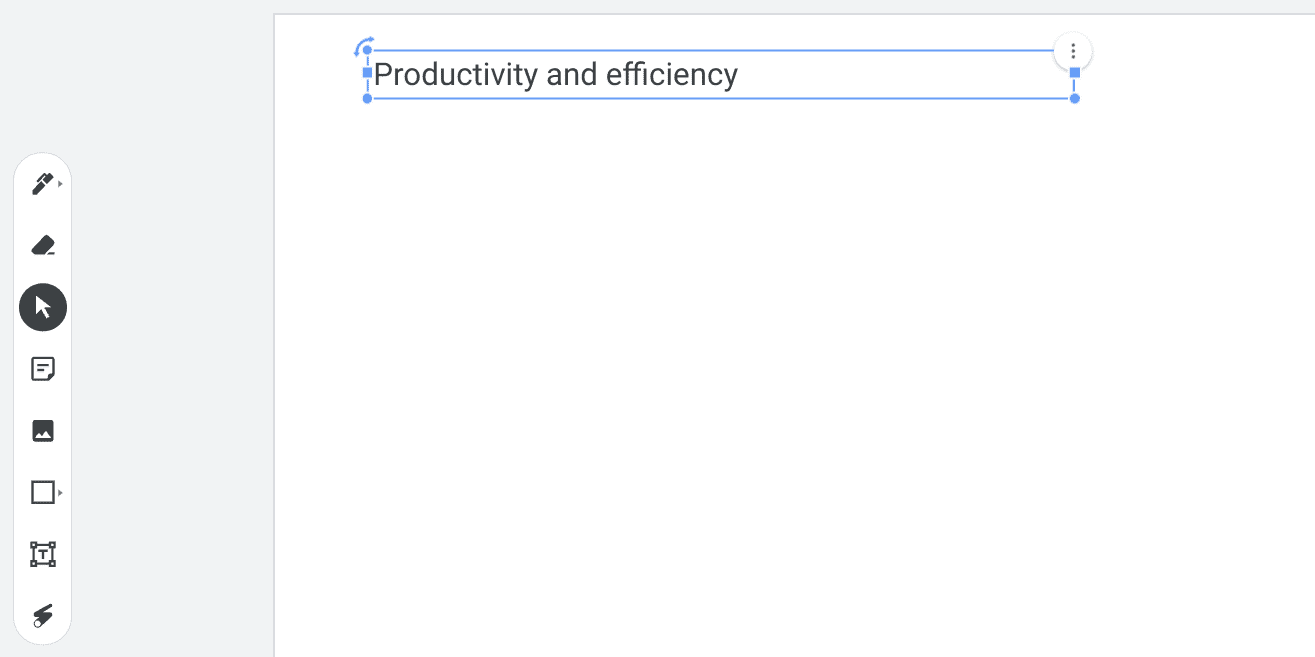
Text Box in Jamboard
Next, we have the built-in functionality of using different shapes to talk about in Google Jamboard. The “Shapes” tool lets you draw specific diagrams in your presentation, allowing you to use those as a basis to annotate your presentation deeply. There’s a dedicated icon for it in Jamboard, too, on the left side of the screen. Clicking on it will reveal further shapes and allow you to insert them into your frame quickly.
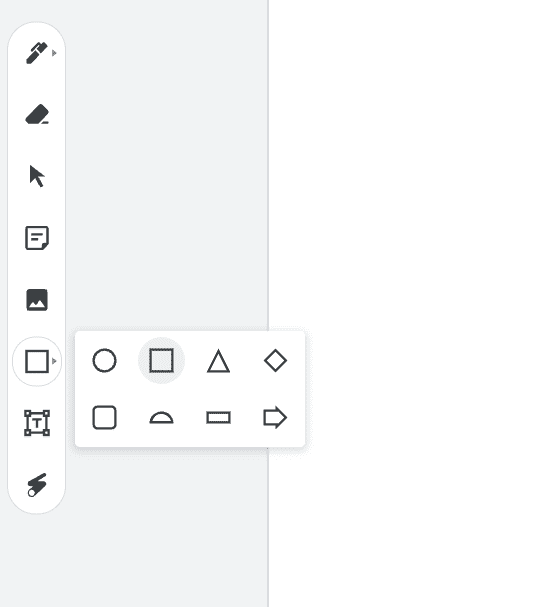
Shapes in Jamboard
Last but not least, we have our favorite annotation to talk about, which is quite a simple one at its core. The “Laser” functionality lets you temporarily highlight elements of focus in the presentation, thereby making it possible to draw your audience’s attention to those specific parts. After finding and selecting the “Laser” tool on the left side of Jamboard’s interface, you can click and drag your mouse or use touch controls and make the best out of the functionality.
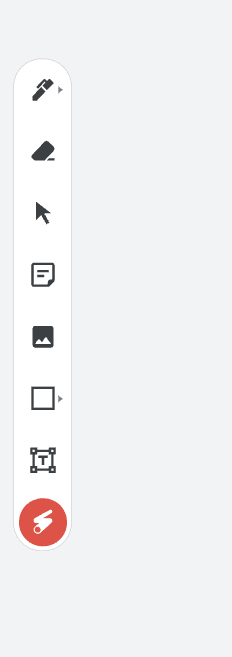
Laser in Jamboard
4. Design your own template in Google Slides
Another essential tip that you must consider is that creating your own templates from scratch in Google Slides and then uploading it one by one to Jamboard boasts higher significance over pre-built templates. Of course, the work and effort in this measure are more substantial, but so is the reward. The fact that you’ll be able to tweak each part of the presentation at will brings forth more freedom and flexibility than opting for other routes.
Now, Google Slides is an entirely different beast that warrants its tutorials and teaching. To help you get going, here’s our beginner’s guide to Google Slides in 2023 for effective learning. Look at it to learn how Slides can be utilized to create presentations from the ground up. Again, the process will be similar to using pre-created templates for Jamboard. Download your created slides and upload them as your jam sessions background step by step.
For ideas, you can check out domains such as Pinterest and derive a unique design type from what you see. Creating a genuine template for your Jamboard presentation will single-handedly help you stand out, provided that you’ve put in the work and the end result has high quality.
5. Fetch images from Google instantly
One final tip we will hand out to anyone looking to make their Google Jamboard presentations outstanding revolves around the usage of Google images. However, the application in question makes it effortless for users to get images from Google in a flash. Don’t worry about manually downloading images and then uploading them to the Jamboard interface on your own.
One of the built-in tools of the Jamboard app will help us with this. To begin, click the “Add image” button in the toolbar on the left side of the screen. Doing so should display a fairly sized overlay menu, allowing you to click on the “Google Images” tab. Once cleared, you can search for anything you want that exists on the internet, and the search results will pop right up. Quite the convenience, isn’t it?
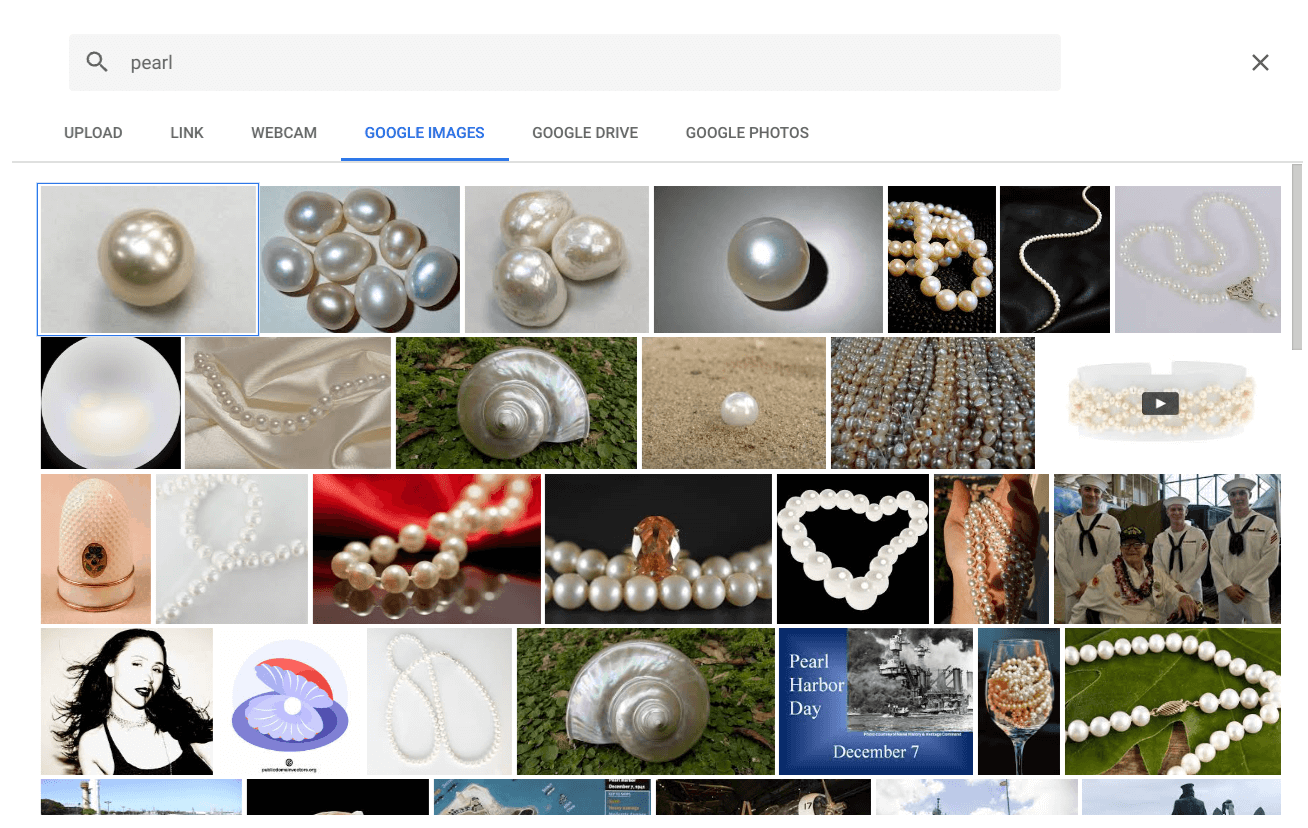
Using Google images in Jamboard
In this manner, you can use Google images directly within Jamboard and benefit from lightning-fast results. Of course, no excellent presentation is exempt from images, so you should take that into account and take measures accordingly to bump up the quality of your work. Usually, the combined effect of all the tips above will help you create an incredibly stand-out presentation. We highly recommend experimenting with what you can do for consistent trial and error.
Conclusion
We’ve gauged how this virtual whiteboard can help us ditch the boring, old ways of creating presentations and putting them against an audience. Since Jamboard comprises various ways to get things going in the right direction, why not also level up and make the right decisions? Do let us know in the comments section below whether the write-up helped you. Thanks for reading!
