In professional working spaces, people who climb the corporate ladder know how to deliver and get their word across. That is made possible only when your presentations are on point and are made with quality kept in mind. Thankfully, Google Jamboard, being a robust virtual whiteboard solution, comprises most of the tools you need to create engaging presentations and make solid first impressions.
In this guide, we’ll walk you through the basics of the matter at hand, so you can learn the effective utilization of Jamboard, whether you’re an office worker or a school-goer. In the meantime, we recommend checking out our ultimate guide on Google Jamboard to understand how this program functions. Let’s get right into this with no further ado.
Getting started with Google Jamboard
Before we begin, it’s worth noting some ways to quickly access Jamboard, either on the web or using your mobile phone. For the latter, though, the Jamboard app is available both on the Google Play Store and App Store, depending on your device type. For web users, there are a couple of approachable measures. First, you can use the dedicated browser-based version of Jamboard for easy workability. It’s simple and gets the job done.
Next, there’s also the option to launch the Jamboard app from Google Drive. Head over to your Drive account, sign in, and click ” New,” symbolized with the “+” sign in the top-left section of the program’s interface. Once done, hover over the “More” button and click “Google Jamboard.” That should do the trick for you quite quickly as well.
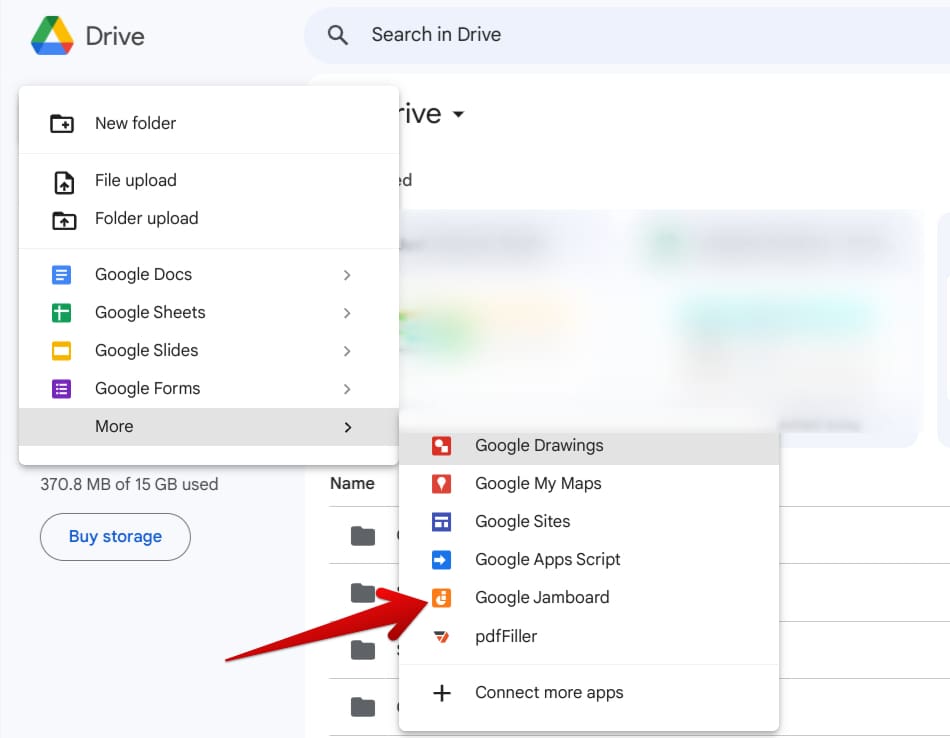
Launching Google Jamboard from Drive
Now that you’ve arrived at the Jamboard app, the best way to create an engaging new presentation is to start it from scratch. Click on the “+” icon in the bottom-right corner of the screen to do just that.
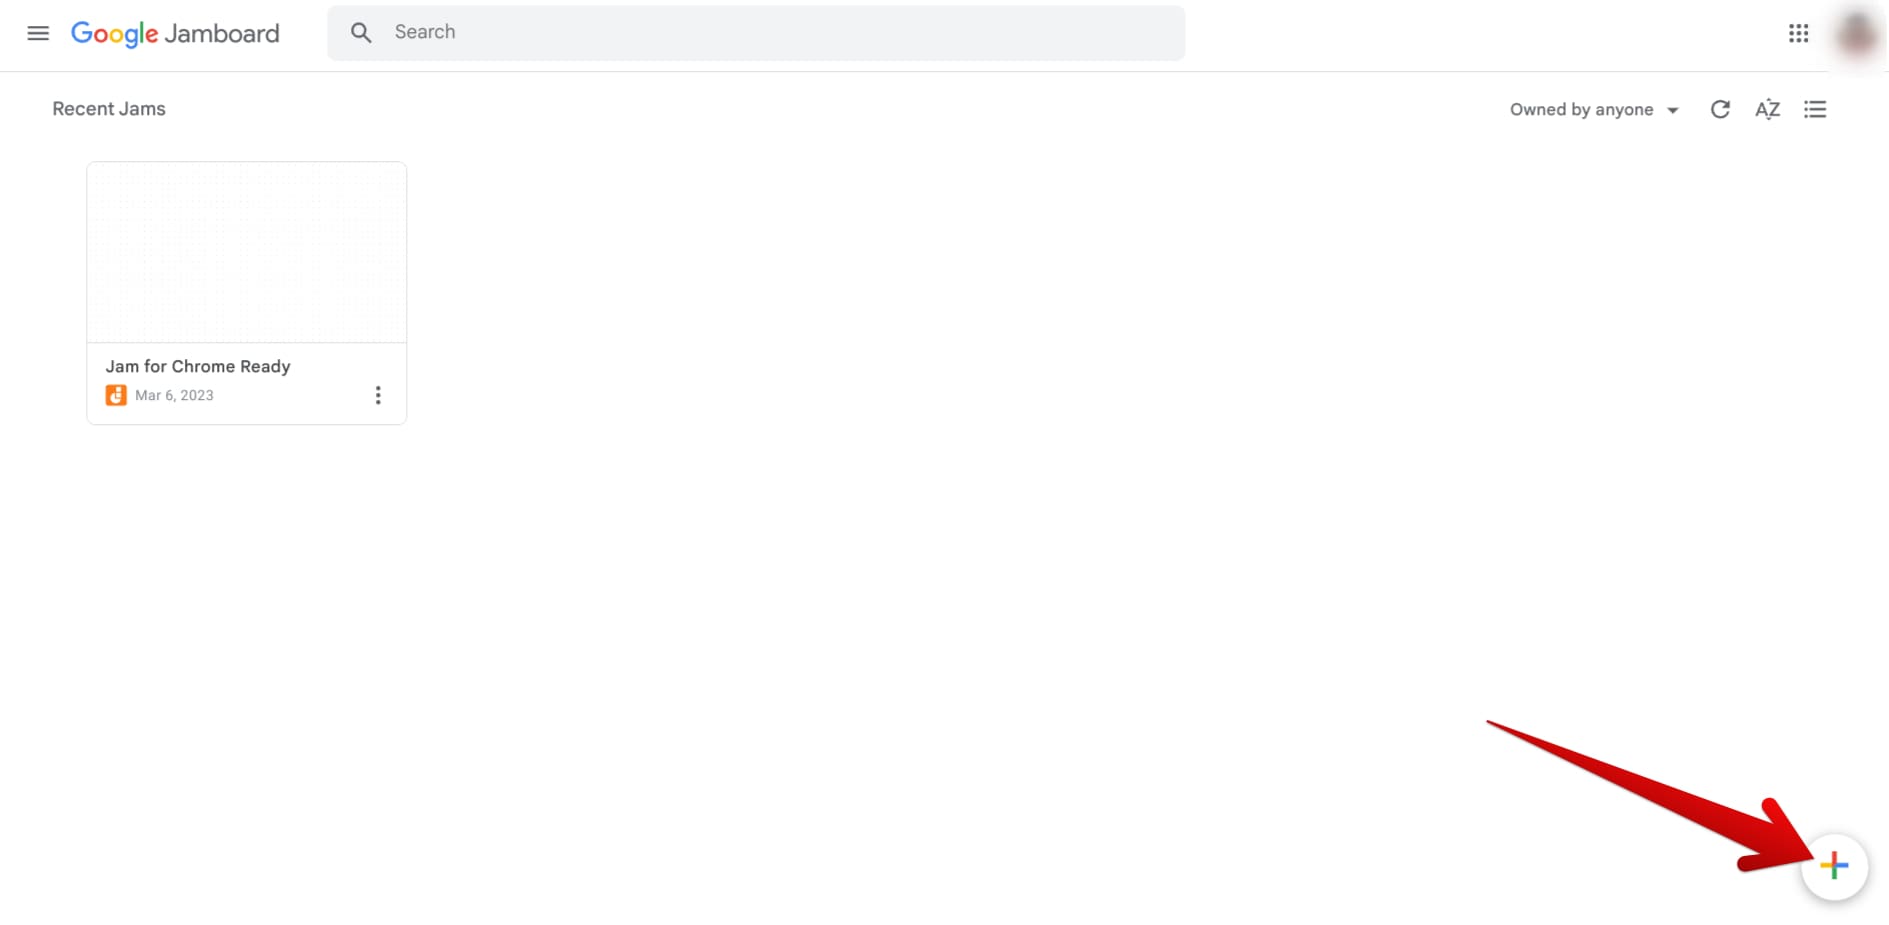
Creating a new jam
That’s it! You’ve learned the proper way to get going with a new jam in Jamboard. We highly recommend starting afresh rather than working on an existing jam for more freedom while creating an engaging presentation. Let us now delve into some rules you can follow to accomplish the task at hand.
Creating engaging presentations with Jamboard
Jamboard is an interactive tool that can help you create remarkable presentations, but only when you know what to do and how to do it. In this section, we’ll be dropping hints and showcasing some of the capabilities of this interactive whiteboard service that can make you stand out whenever you present. Make sure to incorporate all the forthcoming tips and tricks for the best results.
Choose a fitting background
One of the first ways to improve your presentation is to choose a background that fits in. The standard white background that Jamboard offers can be pretty uninteresting in the long run, especially if you intend to create a presentation that aims to engage people. Thankfully, the Jamboard app makes it easy enough to change the background. Tap the relevant option within the app’s interface, and a menu will appear afterward.
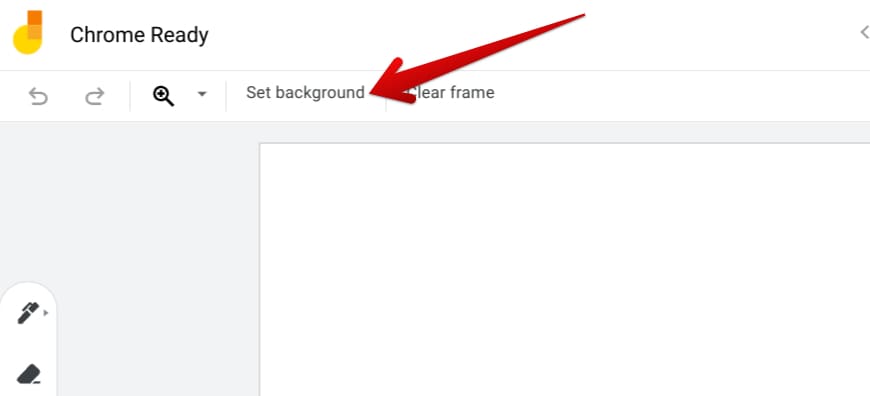
Changing the background in Jamboard
This menu will contain all the relevant background options you can set in Jamboard. Outside of the pre-determined backgrounds, you can effortlessly import your own images to the app and use them as your background. Choosing the correct type of framework in this manner can set quite the tone for your presentation, so we highly recommend that you get to this right off the bat.
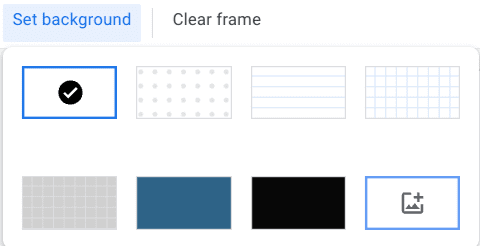
All relevant background options in Jamboard
Employ the “Sticky note” feature
If you wish to make your presentation stand out more, there is a way to do that without breaking a sweat. Thankfully Google Jamboard makes it relatively easy to insert sticky notes in the frames that allow you to explain your distinct points and add more depth to the overall presentation. The “Sticky note” functionality can be implemented in the jam session in various ways.
We prefer using a shortcut key combination of “Ctrl,” “Shift,” and “P,” but if you want to be aware of a more manual approach, click on the related “Sticky note” button in the toolbar on the left. Doing so automatically triggers the “Sticky note” feature, so a dedicated overlay menu appears on the screen for you to tweak and edit. This is where it becomes possible to write the sticky note’s text, change the note’s color, and insert it into the frame.
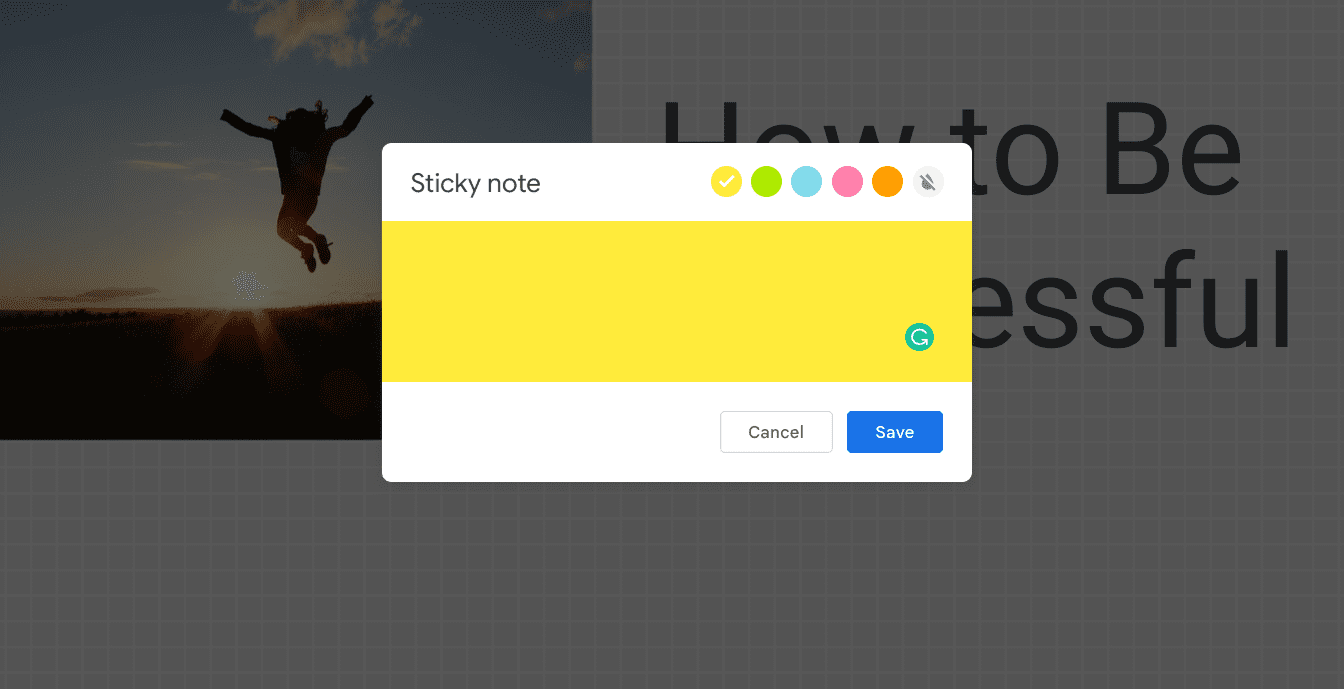
The “Sticky note” overlay in Jamboard
The main purpose of using this feature and ensuring that it’s a part of your presentation is to allow people to grab information quickly and make the statistics memorable. You’ll find several different templates for Google Jamboard that heavily employ the usage of sticky notes.
Use Google images
in case you were unaware, Google Jamboard allows its users to fetch images from the internet and paste them directly into their jam sessions. Now imagine all the possibilities you have in making your presentations stand out more, due to the courtesy of built-in Google Image integration. The process of uploading and inserting is quick and works from within the Jamboard app, so you don’t have to open another tab on your browser to get the job done.
In addition, if you have the 55-inch Jamboard device, the process is even smoother as you pull images from the internet and make them your standard way of presenting information from here on out. To get started, click on “Add image” in the toolbar to the left and choose “Google Images” from the subsequently appearing tabs. You may also select Google Drive or Google Photos if you want to upload images present there.
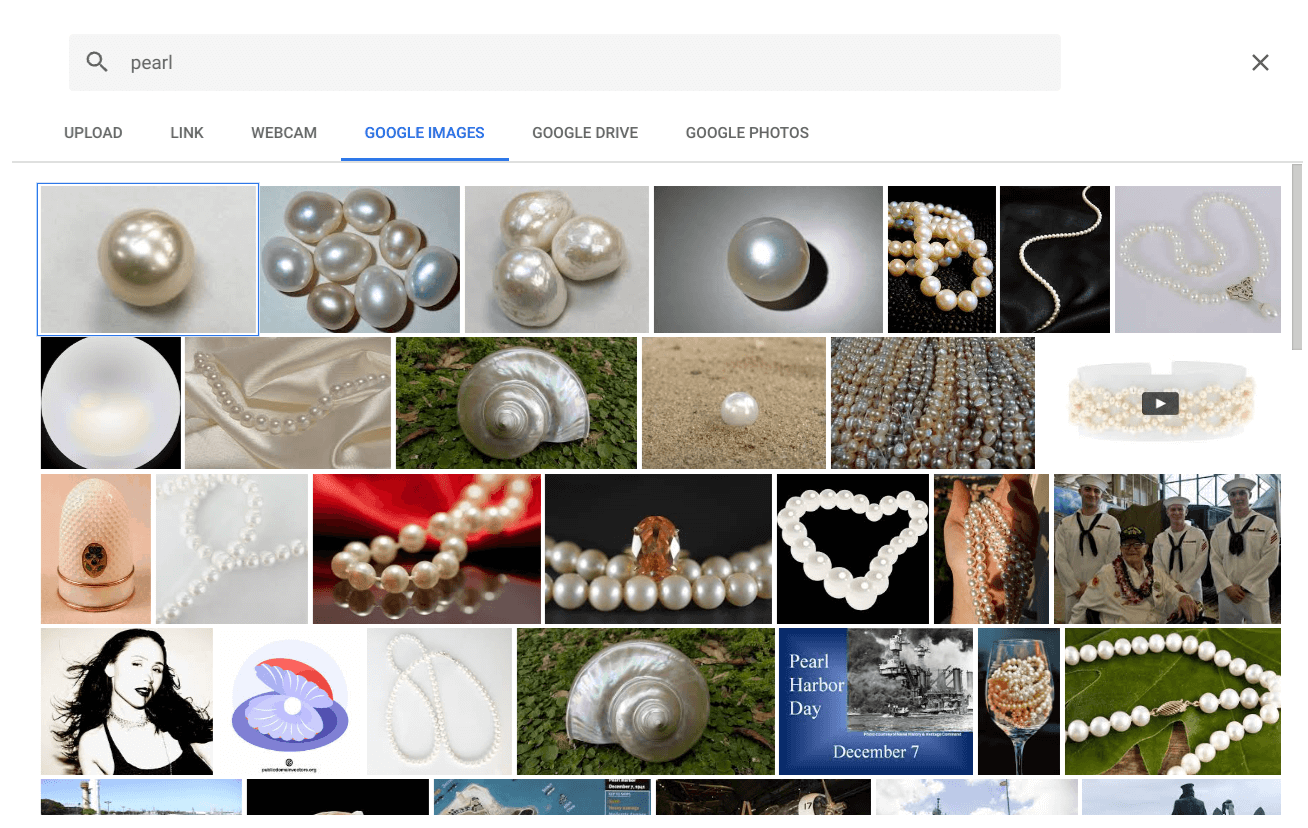
Using Google images in Jamboard
Images drive engagement and are recommended to be present in any presentation for the best results. Without pictorial representations of the topic you’re presenting, it’s unlikely that your efforts to come to fruition.
Try various shapes to add depth to your presentation
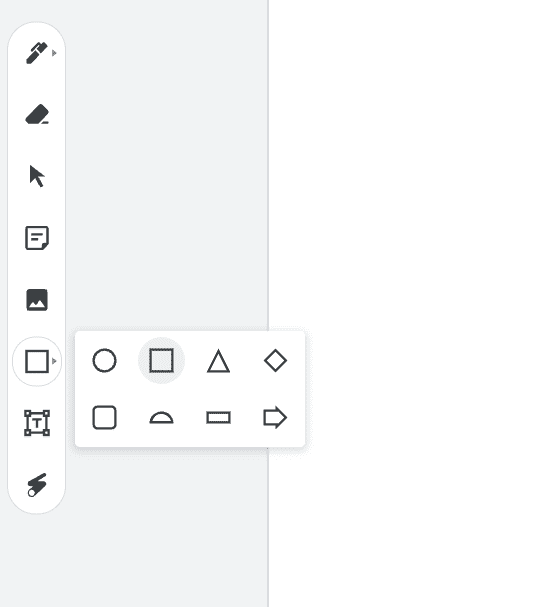
Shapes in Jamboard
Jamboard is a tool that lets you incorporate shapes in your jam session. You can use triangles, circles, half circles, diamonds, arrows, rectangles, and others to make your point and deliver an appealing presentation. Tap on the feature in the toolbar to the left and click on the drop-down arrow beside it.
More options will surface for you accordingly. Whether teaching your students about different shapes or creating slides regarding your business meetings, using the right shape for annotation purposes can never go wrong. Make sure to pick the right tool for the job for viable results.
Implement “Text Boxes” wherever needed
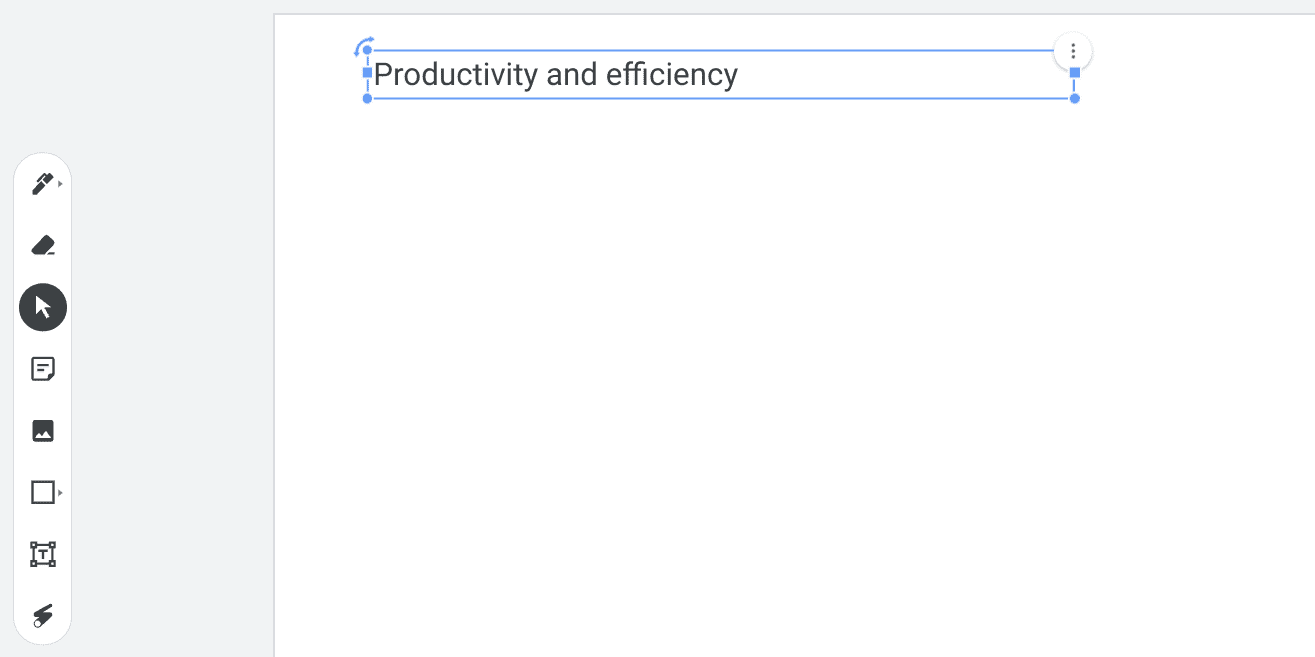
Text Box in Jamboard
No engaging presentation exists without explanatory text. That is where the “Text Box” functionality seeps into reality. Select the feature from the standard toolbar and adjust the size and dimensions of the text box according to your preferences. You’re free to place the box anywhere you want on the screen. It’s possible to customize the box size after you’re done writing in it—that won’t be a problem.
Additional facilitating features of the text box include changing the text size from preset options, changing the alignment of the text within the box, and choosing one out of six colors. Sure, there’s no doubt that the text-related options are limited to an extent in Jamboard, but they’ll still help you get by. We suggest placing different text boxes along with images in the presentation to properly annotate the pictorial additions and go further into your chosen topic’s depth.
Don’t forget the “Laser” for temporary highlighting
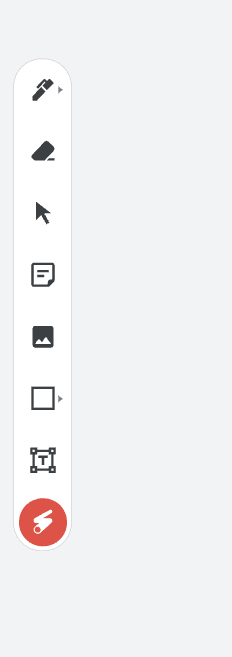
Laser in Jamboard
Many might not think of the “Laser” tool as being anywhere near crucial at first, but let us tell you how much of an emphasis it boasts in the grand scheme of things. The feature allows the presenter to highlight particular objects during the presentation when the explanation is live.
People who like to rapidly divert focus from one element to the other during their presentation will find the tool at hand helpful. Click on it in the toolbar to the left side of the app’s UI, and you can use a laser pointer instead of your cursor in Jamboard from that point onward. Make sure to click and drag for positive results.
Use a pre-built template
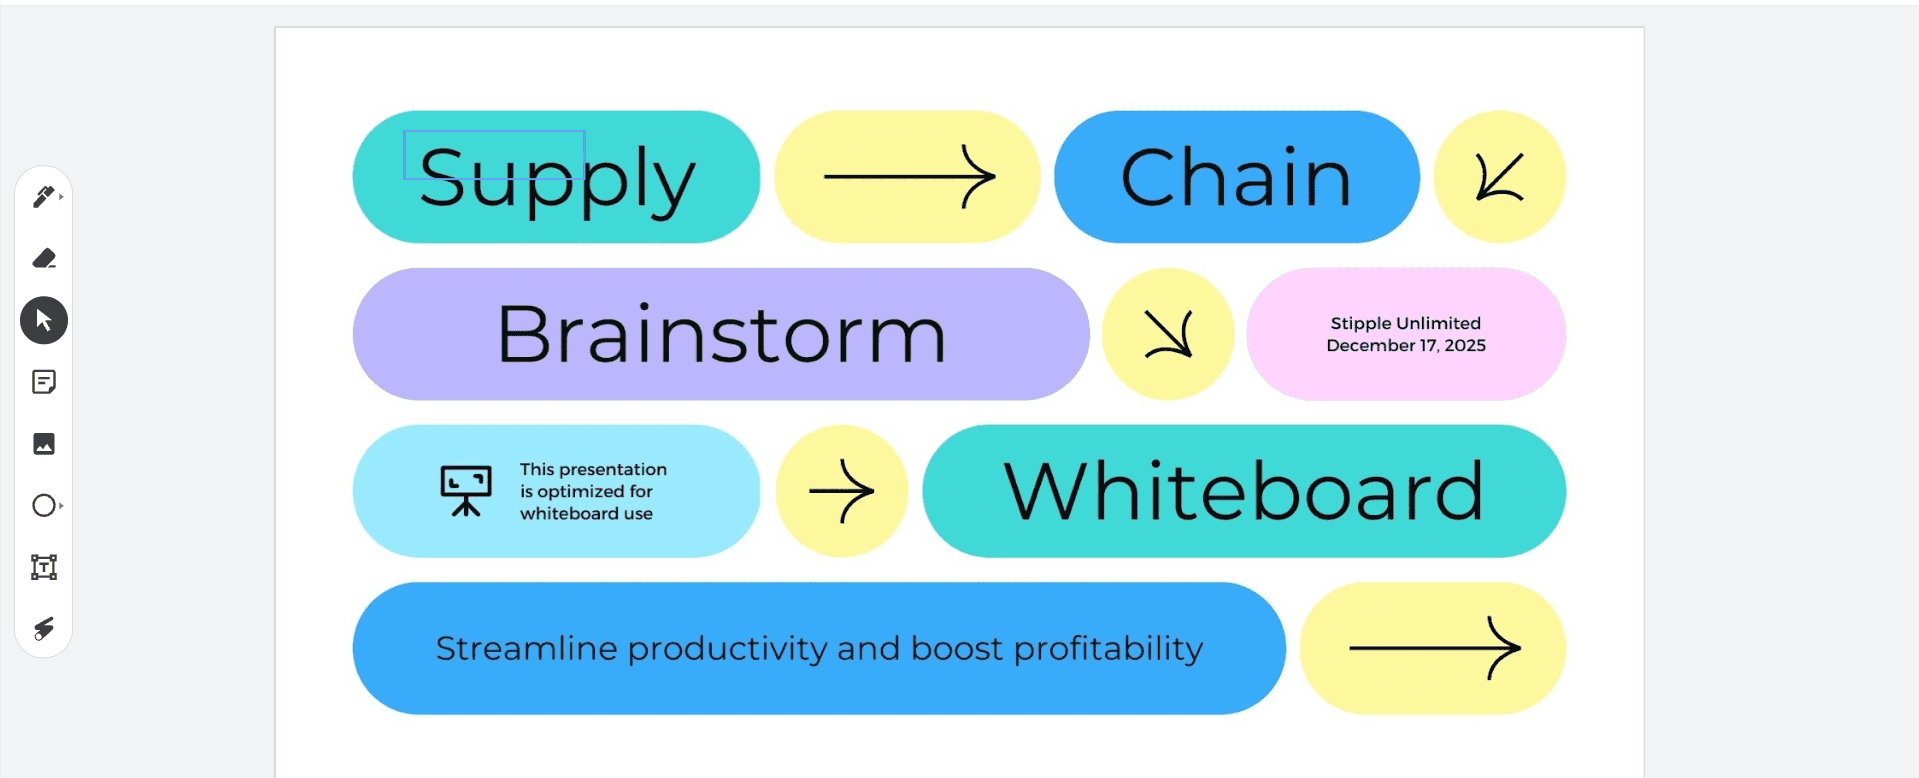
Using a pre-created template in Jamboard
Did you know that Google Jamboard allows you to use pre-built templates and edit those to cater to your preferences? There are various pre-created templates that can be incorporated into Jamboard, but you have to know the correct sources to pursue in this regard. For starters, Canva is a reliable option that you can count on. Its catalog of diverse online whiteboard templates can be utilized for Google Jamboard.
To begin, head over to this page we’ve curated for you to visualize and sift through the widely available templates to insert into Jamboard. Once you’ve picked the right one for your cause, the idea is to download it on your device and upload it as a background in Jamboard. You can then continue to make the necessary changes to the template and make it more aligned with the focus of your presentation.
Utilizing the method of inserting pre-built templates in Jamboard is something that we recommend to anyone who’s out there trying to deliver an engaging presentation. Not only does this method of using pre-built templates in Jamboard make stuff a lot easier right from the get-go, but it also provides a fresher perspective on steering your presentation in a more productive direction.
Create your own template
Are you unhappy with what you see on the internet regarding using a pre-customized template for your engaging Google Jamboard presentation? No problem. Why don’t you try taking things into your own hands? Jamboard makes it possible to create your own template style with the help of Google Slides. Head to the popular slide creator and start working on a presentation immediately. Here’s a guide on making organizational charts using Google Slides to get you going.
Since Jamboard sets you up for further annotation options afterward, make sure to get most of the editing process done in Slides since that’s where you’ll exhibit the most flexibility. Created sections won’t be editable once you start setting your presentation as the background of your Jamboard’s frames. This is why it’s imperative to manage the matter beforehand. Once you’re done, you can start using your stylus or touch controls to advance the presentation.
Conclusion
We’ve gone over some of the most helpful tips and tricks and added information to create presentations that last an impression. We highly suggest planning out the overall theme of your presentation’s subject and then researching deeply for the best results. Do let us know in the comments section whether the guide helped you. We would love to read your feedback!
