Creating surveys is a great way to gather feedback, collect data, and gain insights from your target audience. Google Forms is a free and easy-to-use tool that allows you to create surveys and manage responses in minutes. This article will guide you through creating a survey using Google Forms. It covers everything from creating a new survey and designing the layout to adding questions and collecting responses.
By the end of this article, you will clearly understand how to create a survey using Google Forms and create effective surveys for your own needs. Whether you are a business owner, marketer, researcher, or just someone looking to gather feedback, this article will provide you with the information and tools you need to get started. Looking for a way to authorize the responses to a Google Form. Read through our article on how to add an electronic signature in Google Forms.
Google Forms and survey creation
Google Forms is a free, web-based tool offered by Google that allows users to create and administer surveys. It is part of the Google Drive suite of tools, including Google Docs, Sheets, and Slides. With Google Forms, you can create surveys with various question types, including multiple-choice, short-answer, and checkboxes. Once you have created a survey, you can share it with others and collect responses through multiple methods, such as an email or a link.
Survey creation with Google Forms is simple and intuitive, making it accessible to users of all skill levels. When creating a survey, you can start with a pre-made template or create a new survey from scratch. You can then customize the design and layout of the survey to match your brand or aesthetic. Additionally, Google Forms allows you to add logic and skip patterns to your survey, making it easy to personalize the experience for each respondent.
One of the main benefits of using Google Forms for survey creation is its integration with other Google tools. For example, you can easily import data from a Google Sheet to create a survey or export survey responses to a Google Sheet for analysis. This integration makes it easy to work with survey data and collaborate with others.
Setting up a new survey in Google Forms
Setting up a new survey in Google Forms is a straightforward process. Here are the steps to create your own survey,
Step 1: Go to forms.google.com and sign in to your Google account.
Step 2: Click on the plus sign button in the top left corner of the page to start a new form.
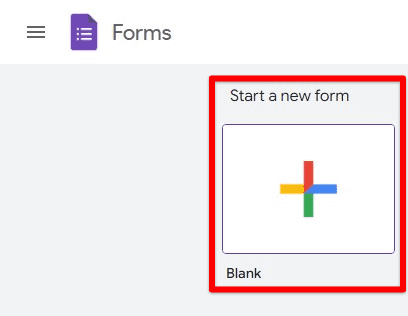
Starting a new form
Step 3: You will be prompted to choose a template or create one from scratch. You can select a template if you prefer to have a pre-made design, or you can select “Blank” to start from scratch.
Step 4: After you have selected a template or chosen to create a form from scratch, you will be taken to the form editor. Here you can customize the design and layout of your survey, such as changing the background color, adding a logo, or adjusting the font.
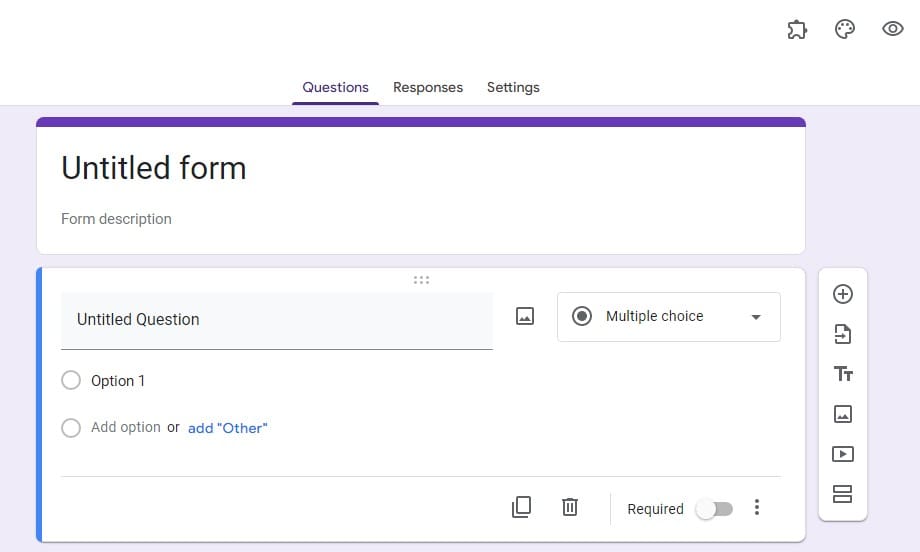
Form editor
Step 5: On the top and right of the form editor, you will see a menu bar with options to add questions, customize the form, and manage responses.
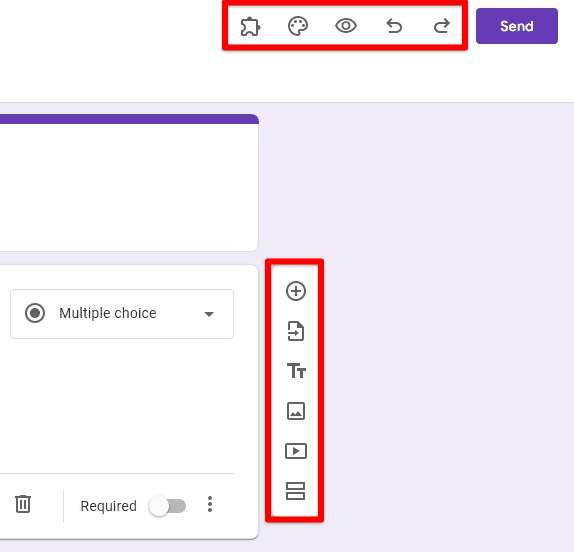
Form editor options
Step 6: Click the plus sign button in the right toolbar to add a question. You can choose from various question types, such as multiple choice, short answer, or checkboxes.
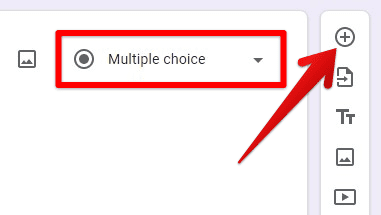
Adding a new question
Step 7: Once you have added all the questions you want, you can preview the survey to see how it will look to the respondents.
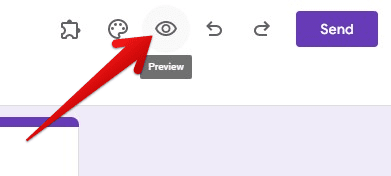
Previewing the form
Step 8: When you’re happy with the survey, click on the “Send” button in the top right corner of the form editor to share it with the target audience and potential respondents.
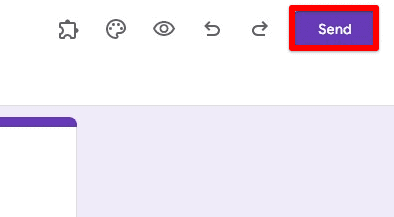
Send button
Following these steps, you will successfully set up a new survey in Google Forms. However, remember that you can always go back and edit the survey at any time by clicking on the “Edit” button in the top right corner of the form editor.
Designing and customizing the survey layout
Designing and customizing the layout of your survey is an essential step in creating an effective, engaging, easy, and complete survey. Google Forms offers various options to customize your survey’s design and layout, making it easy to match the survey to your brand or aesthetic.
Change the background color: Change the background color of your survey by clicking on the “Change background” button in the form editor. You can choose from various pre-made color options or enter a custom hex code to match your brand’s color.
Add a logo or image: Add a logo or image to your survey by clicking on the “Add image” button. A picture can either be uploaded from your computer or selected from Google Drive.
Adjust the font: Adjust the font of your survey by clicking on the “Change theme” button. It is possible to choose from various pre-made font options or customize the font size and color to match your brand.
Add sections and page breaks: Add sections and page breaks to your survey to organize the questions and make it easier for respondents to complete. To add a section, click on the plus sign in the form editor and select “Section header.” Next, click the plus sign button to add a page break and select “Page break.”
By customizing the layout of your survey, you can make it more engaging and easier to complete. The more visually appealing your survey is, the more likely people are to participate.
Conclusion
By following the steps outlined in this article, you can set up a new survey, customize its layout, and share it with your target audience. Google Forms offers a variety of options to make your survey visually appealing and easy to complete, increasing the likelihood of getting more responses. Keep in mind that you can always go back and edit your survey at any time and view and analyze the responses using the built-in analytics tools. With Google Forms, surveys can be created for various purposes, such as customer feedback, market research, or employee satisfaction. Do you often have to reuse a form template or style? Learn how to duplicate your Google Form in this step-by-step guide.
