As one of the world’s most established tech giants, Google is well ahead of the competition in terms of incorporating accessibility in its wide assortment of apps and software to its bustling user base. To single out the Google Play Store itself, this popular Android storefront lets you install, play, and purchase games and apps with maximum convenience daily.
One of the related programs that the Google Play Store can be associated with is Google Pay—a top-tier payment solution for Android phones that lets you ditch your debit or credit cards and set up an option for contactless payments with it. That is to say, the protocol that this functionality uses is called NFC, otherwise known as Near Field Communication. In this guide, we’ll learn how to set up a credit or debit card for NFC contactless payments in Google Pay.
We’ll explain the process step-by-step, so you can acknowledge all necessary to make your efforts come to fruition. Let’s get started with no further ado.
What are NFC contactless payments in Google Pay?
Google Pay is Google’s front-running payment-making software that enables millions worldwide to shop online and even take care of in-app micro-transactions securely. The initial release of the application dates back to 2011 under the branding of Google Wallet, but that has since been replaced with a new term called Google Pay. As far as the availability of the functionality is concerned, users from more than 50 countries can enjoy many of Google Pay’s features.

NFC Contactless Payment
If you’re located in a region where you’re not sure of Google Pay’s availability, it’s worth looking at this support page to determine the handiness of Google Pay. Almost all of the countries that let you set up a Google Pay account also encompass the feature of paying in-store, which is done via the NFC payment protocol. A little word on that: NFC is shorthand for Near Field Communication.
As the name of the functionality depicts, NFC refers to a payment system between two ends residing in the same vicinity. Let us clear this up with the help of an example. Consider yourself taking your Android phone to a store and purchasing some stuff with Google Pay as your primary source of payment provision. It’s understood that you’ve already set up and added a debit card to your Google Pay account. So you are one end of the equation here.
As soon as the cashier pulls out the POS (Point of Sale) terminal and you tap your phone on the terminal to complete the payment, an NFC procedure is established. Therefore, this is the concept of NFC contactless payments made possible by Google Pay. It’s worth noting that the contactless payment option is only available on Android phones and devices that come with Wear OS, alongside specific smartwatches, including the Fitbit Versa 2.
Unfortunately, the feature we’re on here isn’t available on the web or PC. After all, it makes perfect sense as well. You’re not going to carry your laptop or PC to an outlet and make it lean over the counter to process the NFC contactless payment now, are you? As for the process that dictates the working capacity of NFC that Google Pay employs, it’s been said that the latter utilizes the EMV Payment Tokenisation Specification protocol.
We’ll avoid delving into the advanced parameters of this instance, so let’s stick to the point at hand. If you came here looking for a way to set up your credit or debit card for NFC contactless payments in Google Pay, the following section would answer your most burning questions regarding this process. Let’s get started right away.
Setting up your bank card for NFC payments in the Google Pay app
Setting up your debit or credit card for NFC payments in Google Pay is painless. All you need to do is sign into the Google Pay app, also called GPay or G Pay, on smartphones, add your debit or credit card, and verify your payment method, so it gets registered for NFC contactless payments. It’s about as easy as that. However, there are certain prerequisites that you have to take care of before proceeding ahead.
One of those essential requirements revolves around the availability of the NFC feature on your Android smartphone. Unfortunately, iOS users won’t be able to benefit from the NFC functionality in Google Pay since this particular feature is not currently supported on Apple phones. With that said, this definitive list by a website called NFC World will help you determine whether your phone supports the NFC functionality or not.
You’ve lucked out if you catch your phone’s name on this list. However, that’s not where the prerequisites of using the NFC contactless payment functionality in the Google Pay app draw the line. Your other primary concern is regional availability. Although Google Pay is available in multiple countries, it doesn’t cover the world. So make sure that the Google Pay app supports your locality.
So, once you’ve taken care of the availability of the program and the NFC feature in your Android phone, you can finally proceed with setting up a bank card on your end of Google Pay. For this purpose, the steps given ahead will take it from here. Please follow them diligently for the best results.
1. The first step is to open the Google Pay app on your Android phone. You’ll find it in your app drawer area, and it’s even possible to search for the application precisely.
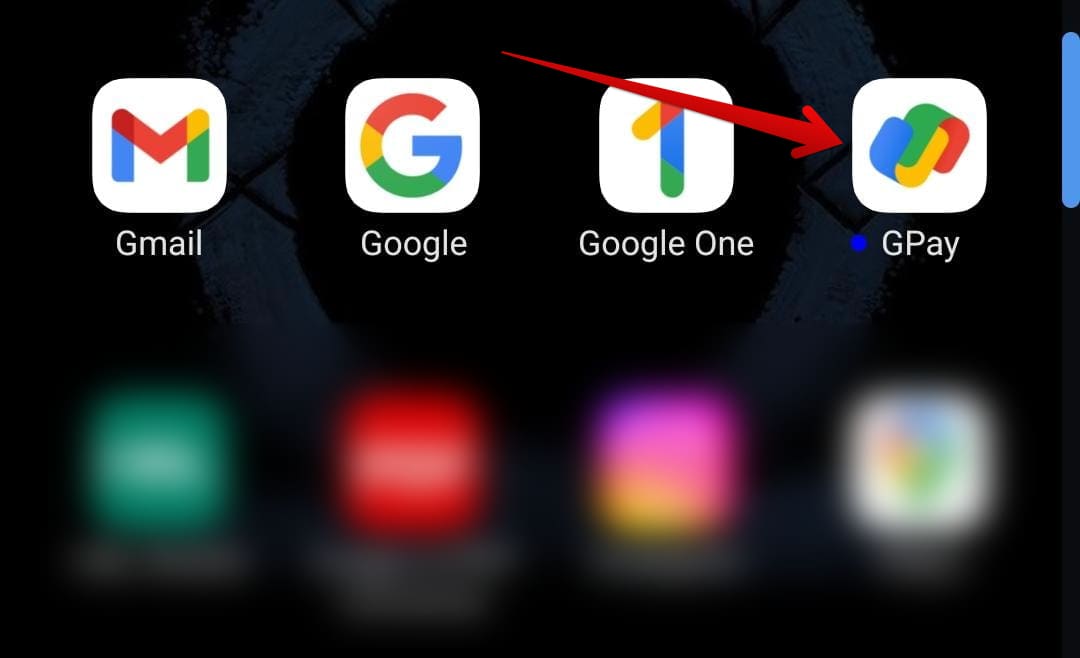
Opening the GPay app
2. When you start the GPay app, you’ll be asked to sign in or sign up. At first, the app’s interface will prompt you to select your country. Then, if you’re in the United States, choose the appropriate option. Once done, the system will ask you to select the Google account with which you wish to use GPay.
Make the right choice to get to the next step. Note that you can always easily add more accounts to your Android phone so that this option will be available later. Next, a phone number will be demanded from you so that you can verify your account. Provide a legitimate US phone number to get to the next step. We advise hurriedly sifting through the initial set-up process if you do not intend to utilize the rest of GPay’s features.
With the above said and done, if you’ve already done all of that, you need to tap on the “Ready to pay” option at the top of the screen in the GPay app interface. Doing so should take you forward.
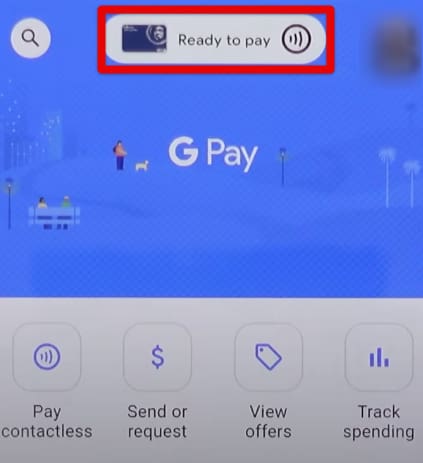
Tapping on the “Ready to pay” option
3. Once done, an option to add a new payment method will appear shortly. Click on it to get to the next step.

Adding a payment method in Google Pay
4. After completing the previous step, you must click on the “Credit or debit card” option at the bottom of the screen. If you focus on the screenshot below, you’ll observe the encircled “+” sign alongside each entered card. This is to proceed with the contactless payment functionality, but since we’re speaking from the perspective of someone who is starting from scratch here, it’s worth detailing the minute details of the procedure too.
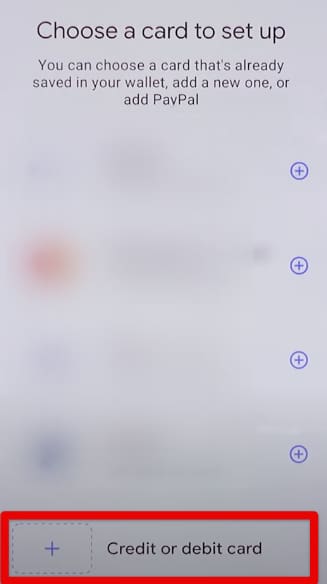
Choosing a new credit or debit card option
5. After clicking on “Credit or debit card,” you’ll be given two options to fill in your bank card information. You can add your card with the help of your phone’s camera, that’ll scan your card and automatically fetch the required details, such as the account holder’s name, card number, and month of expiry. The other method is manually entering all your debit or credit card details. After completing this step, you next need to enter your billing address.
Once you’re done entering all the required information, you need to click the “Save” button, so GPay can contact your bank and verify your card details. This will take no longer than a couple of minutes, so do wait until you’re all set up before you can move ahead.
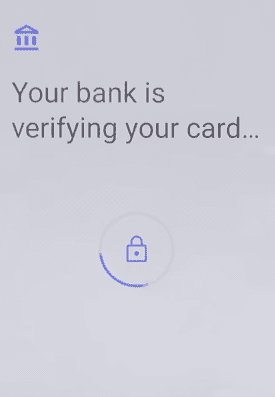
Card verification under progress
That’s all there is to know about how to set up a debit or credit card for NFC contactless payments in Google Pay. You should now have the selected card all verified and ready to go with any POS terminal you find to make purchases. A notification will pop up at the bottom of the page as soon as you’re finished with the procedure above.
Engaging in NFC contactless payments via the Google Pay app is now possible. Just make sure you open the program on your Android phone and place it on the POS terminal — or wherever you have to make the purchase — to complete your buyout. That’s all that you should concern yourself with.
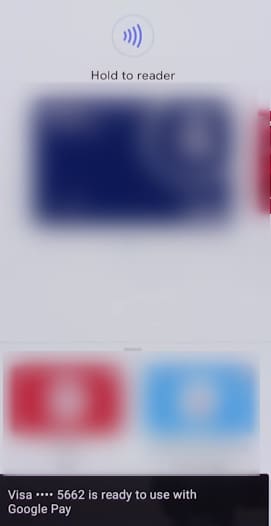
Bank card set up with Google Pay
Conclusion
Google Pay is a payment service that that powers mobile devices with the ability to pay companies right out of the gate. If you intend to make your purchases more seamless, the software offers an NFC contactless payment method that lets you rest your cards at home and buy stuff in the comfort of your Android phone. Now that you’re all caught up on the basics of this procedure, do let us know whether you’ve found the guide useful for your cause.
Thanks for reading!
- An introductory article: What is Google Play Pass, and do you need it?
