Google Pay is a mobile payment platform developed by the team at Google. The payment platform has been around since 2018 and has undergone different iterations. Before 2018, it was popularly referred to as Android Pay (2015). It was developed to power contactless payments using the mobile phone’s near-field communication (NFC) technology, enabling the transfer of card information.
This process facilitates funds transfer to a retailer. The technology establishes communication between two electronic devices over a distance, not more than 4cm (about half the length of the long edge of a credit card). Payments can be made if the mobile phone and the retailer’s NFC are close enough. With this technology, no payment can be made unless a Google Pay user’s phone is nearby (centimeters) to the NFC card reader.
Google Pay is a great payment platform for much more than making purchases in stores with your phone. There are many other reasons why you would want to use Google Pay:
1. Google Pay can send money to friends and family in your contact or email list. In addition, you can use it to receive money from friends and family using PayPal and Venmo.
2. Wouldn’t it be nice to get paid while making purchases using Google Pay? Well, it turns out that you can. Many options allow you to make payments in-store or online. Google Pay offers different percentages of cashback when you pay using Google Pay while dining, shopping in retail stores, or online. Explore the options available near your area to find out the options available for you. 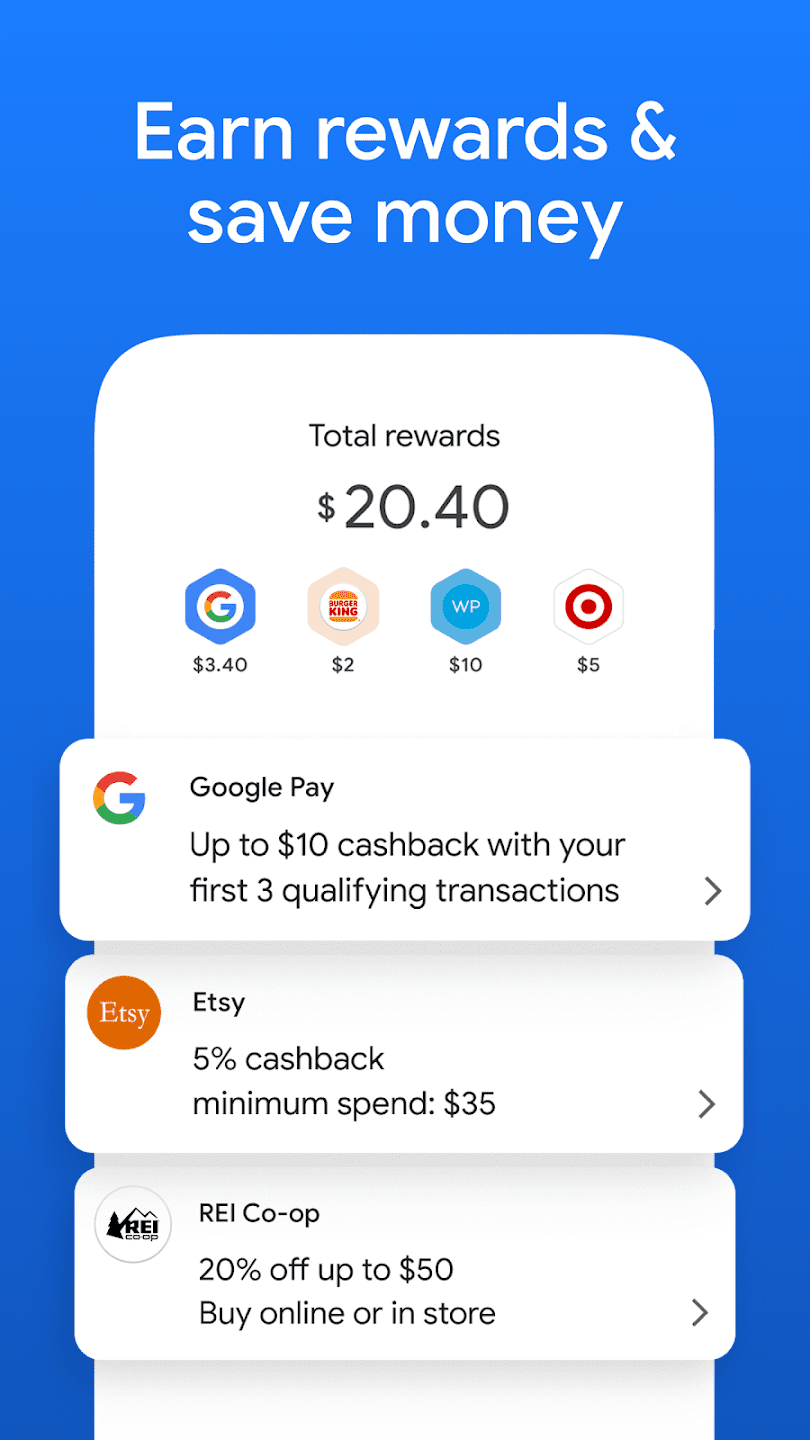
3. If you use one or more banking cards on your phone, it may be hard to keep track of your spending. So would it not be nice if all these different bank accounts could be managed in one place? It turns out that Google Pay allows you to manage all these accounts in the app. This will enable you to track your spending from your bank accounts, your current balances on your checking and savings accounts, and manage large transactions that look out of the ordinary. Tap on the “Show all accounts” button to set this up for yourself. 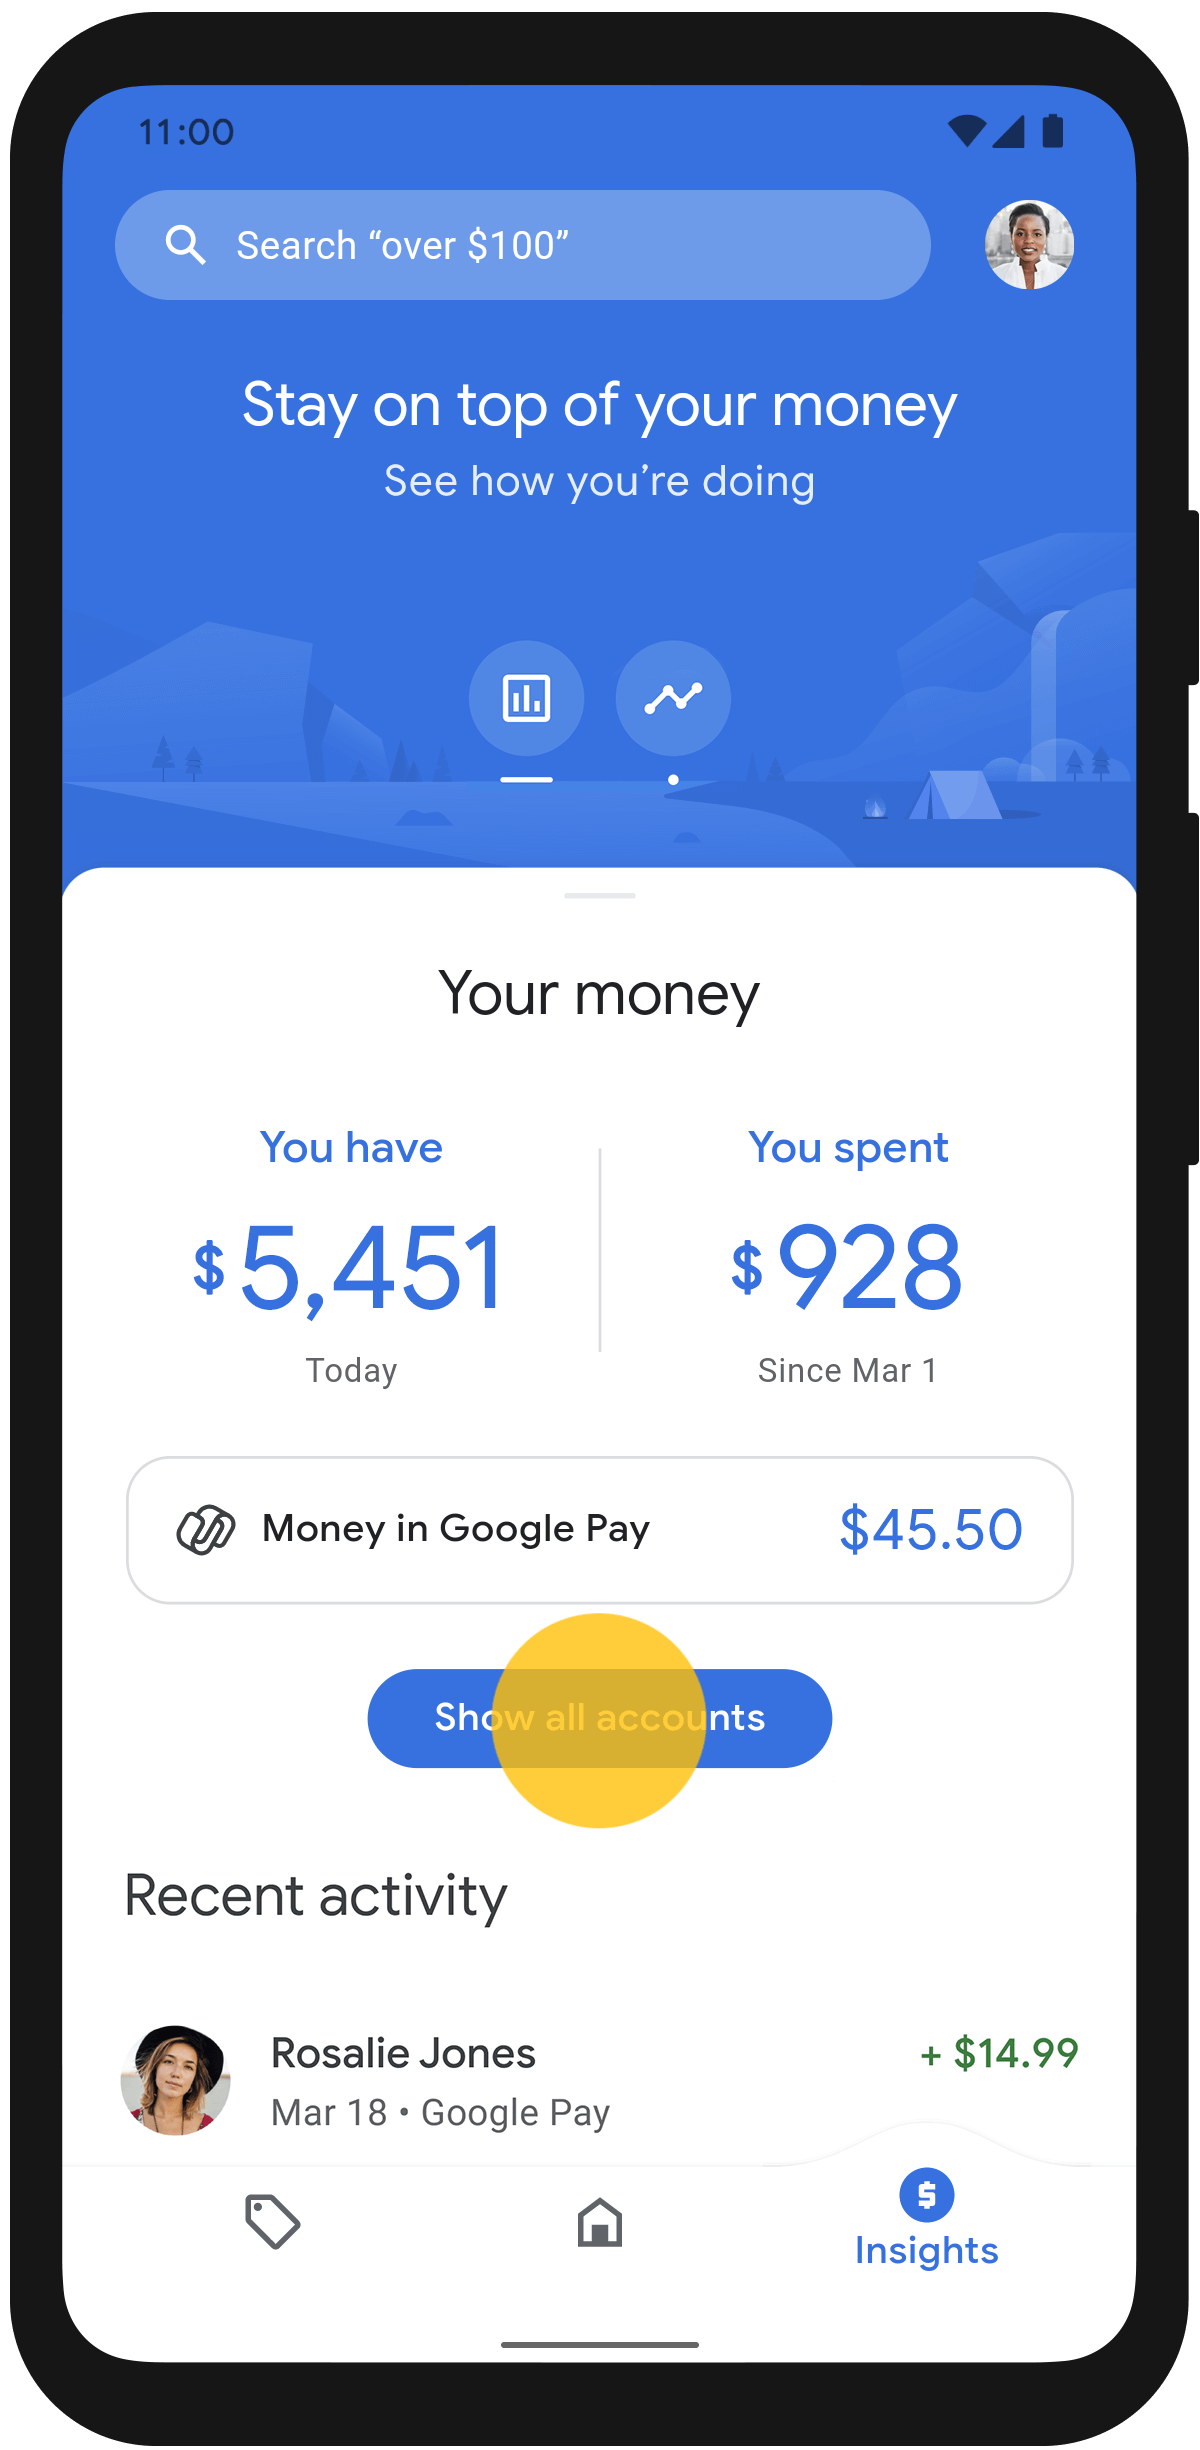
4. Click the “Add Accounts” button and select the “To track balances and spending” option. Google Pay uses the “Plaid” platform to link the app to the bank accounts that you enroll in. If their terms seem agreeable, click on the “Accept and sign in” button, then tap “Continue.” 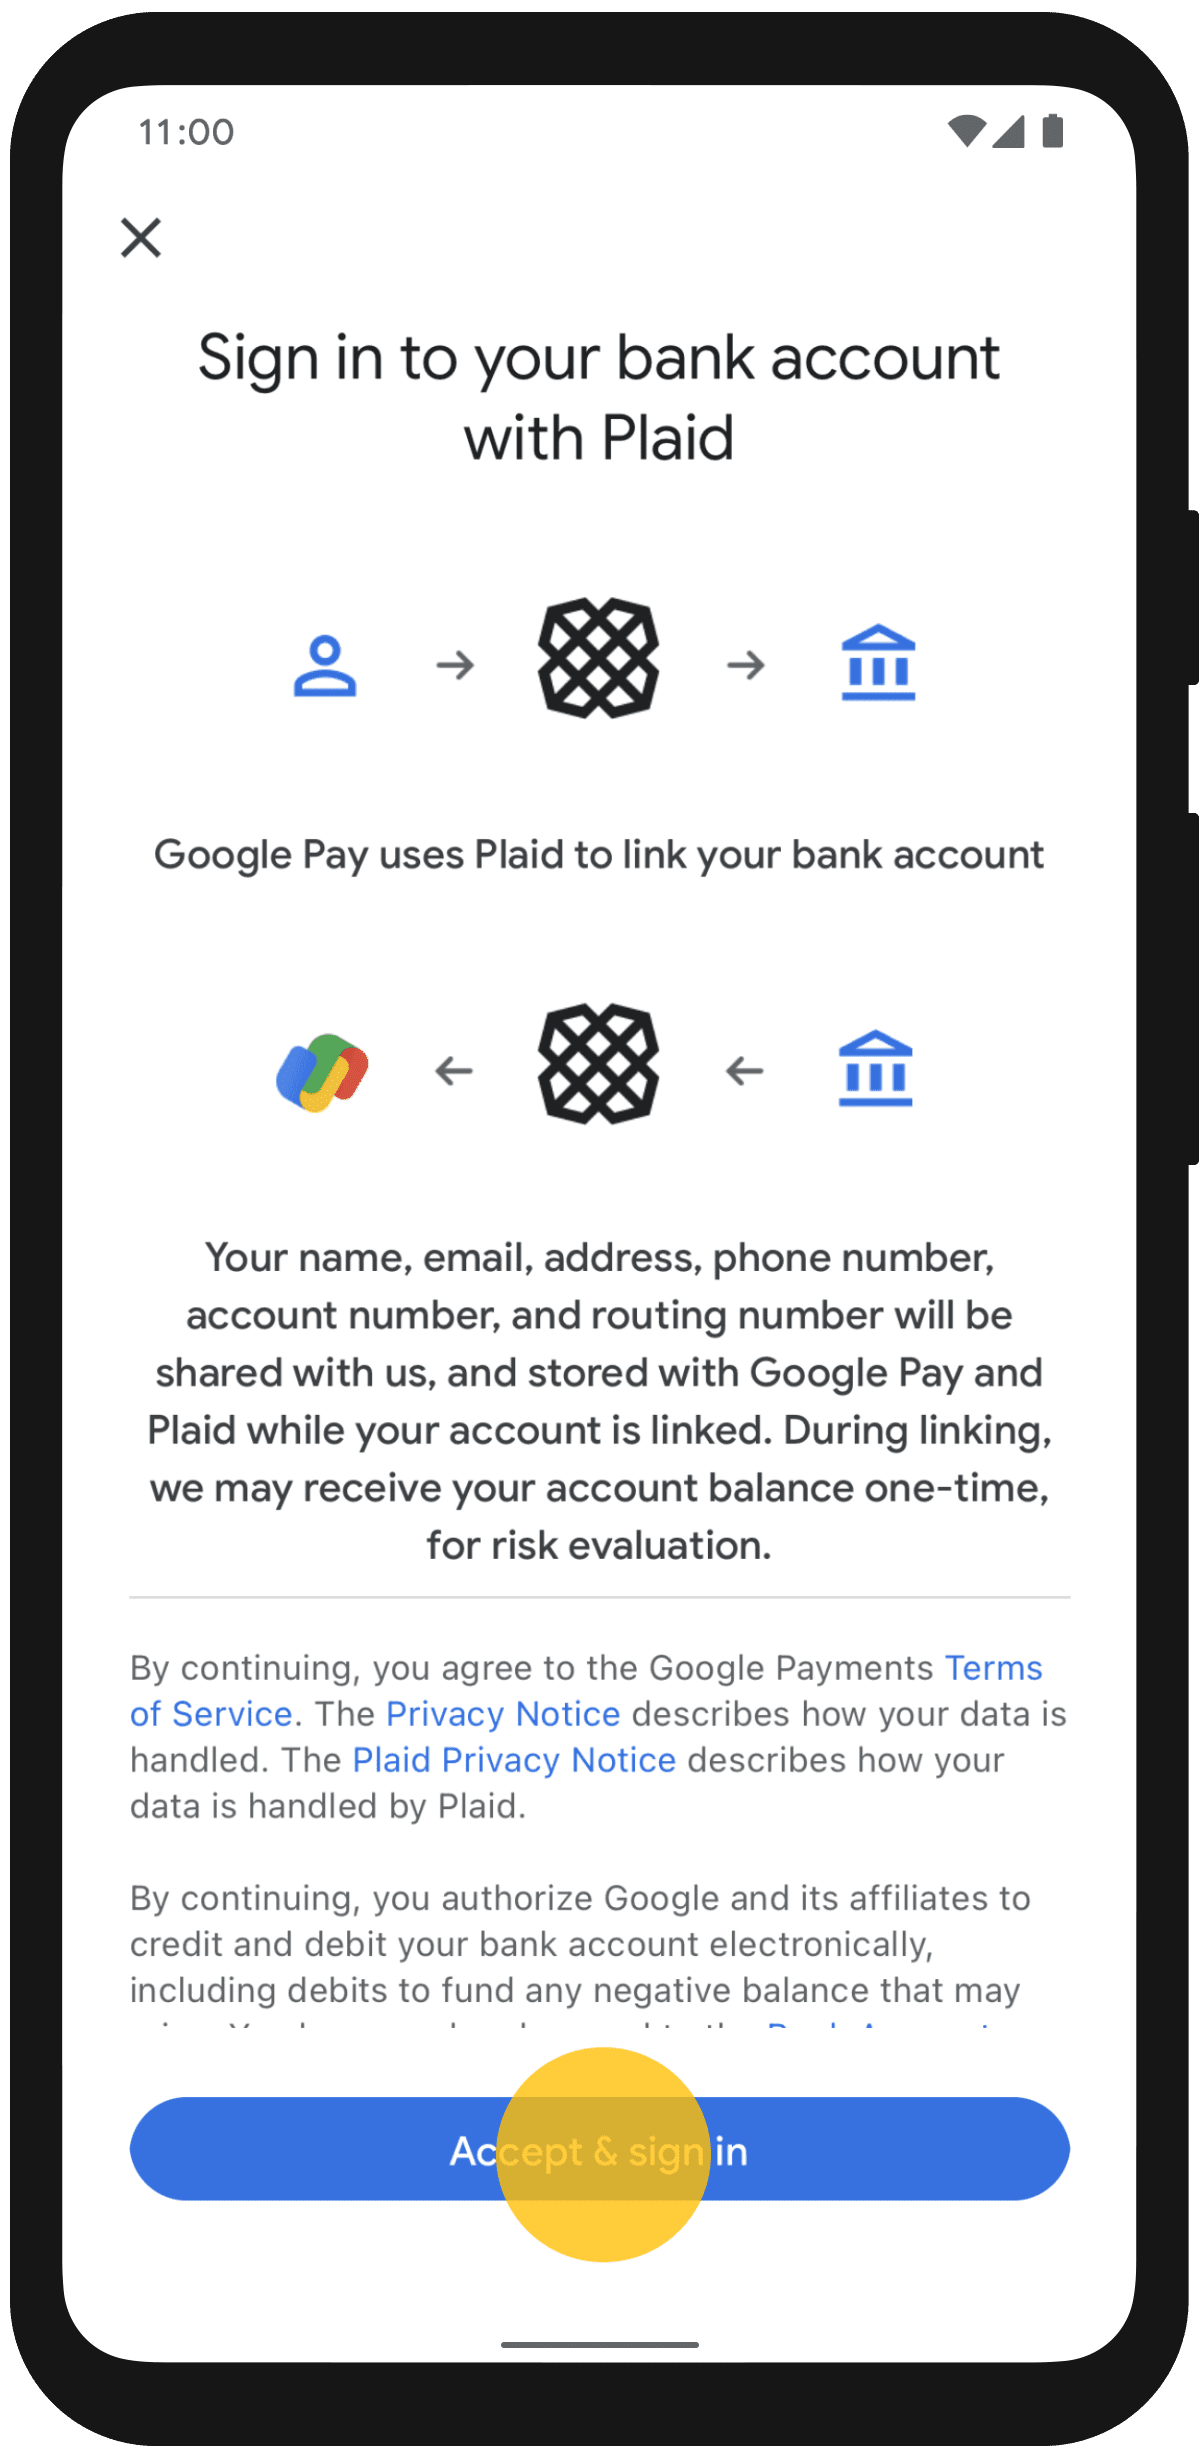
Select your bank and add your online banking username and password. Next, you must verify your identity via text message or phone call. Now select the accounts you want to track in Google Pay and click on the “Continue” button. You will receive a “Success” message if all is good. It might take a bit for your transactions to show up on the app, about 30 minutes, but once they are there, you will get a clearer picture of where your money goes every month.
5. Using Google Pay, you can withdraw cash from ATMs and pay for your train, bus, or subway pass.
How to set up and use Google Pay
To begin using Google Pay, you must first download and install “Google Pay” from Google Play or the App Store. The app is available for both Android and iOS devices. You will need a Google account, but if you use Gmail, you are good to go. If not, it is easy to sign up for a new account.
When you first open the app, you will be asked to select the country where you will use Google Pay. Next, you will be prompted to choose the Google account you want to use for Google Pay. If you are signed in to more than one account, select the one you wish to use and press “Continue.” Now, you will need to enter and verify your phone number. After you receive your verification code, enter the 6-digit code into the displayed box.
Tap “Next” to set up your privacy preferences. Next, you can opt-in to receive cashback on your purchases and earn rewards. You can choose not to receive cashback, but you will not earn any rewards. You can as well decide to set this up later in your settings.
Lastly, you can choose whether you want to share your purchasing habits with Google. Accepting this option helps personalize your Google Pay app experience. Typically, I usually prefer to say “No” to this. But you can choose whichever option suits you best. If your phone does not have a screen lock, you will be prompted to set up one to use Google Pay. Once this is set, you are all set to use Google Pay.
To start spending money with Google Pay, you must add a credit card to the account.
You can enter your information in two ways:
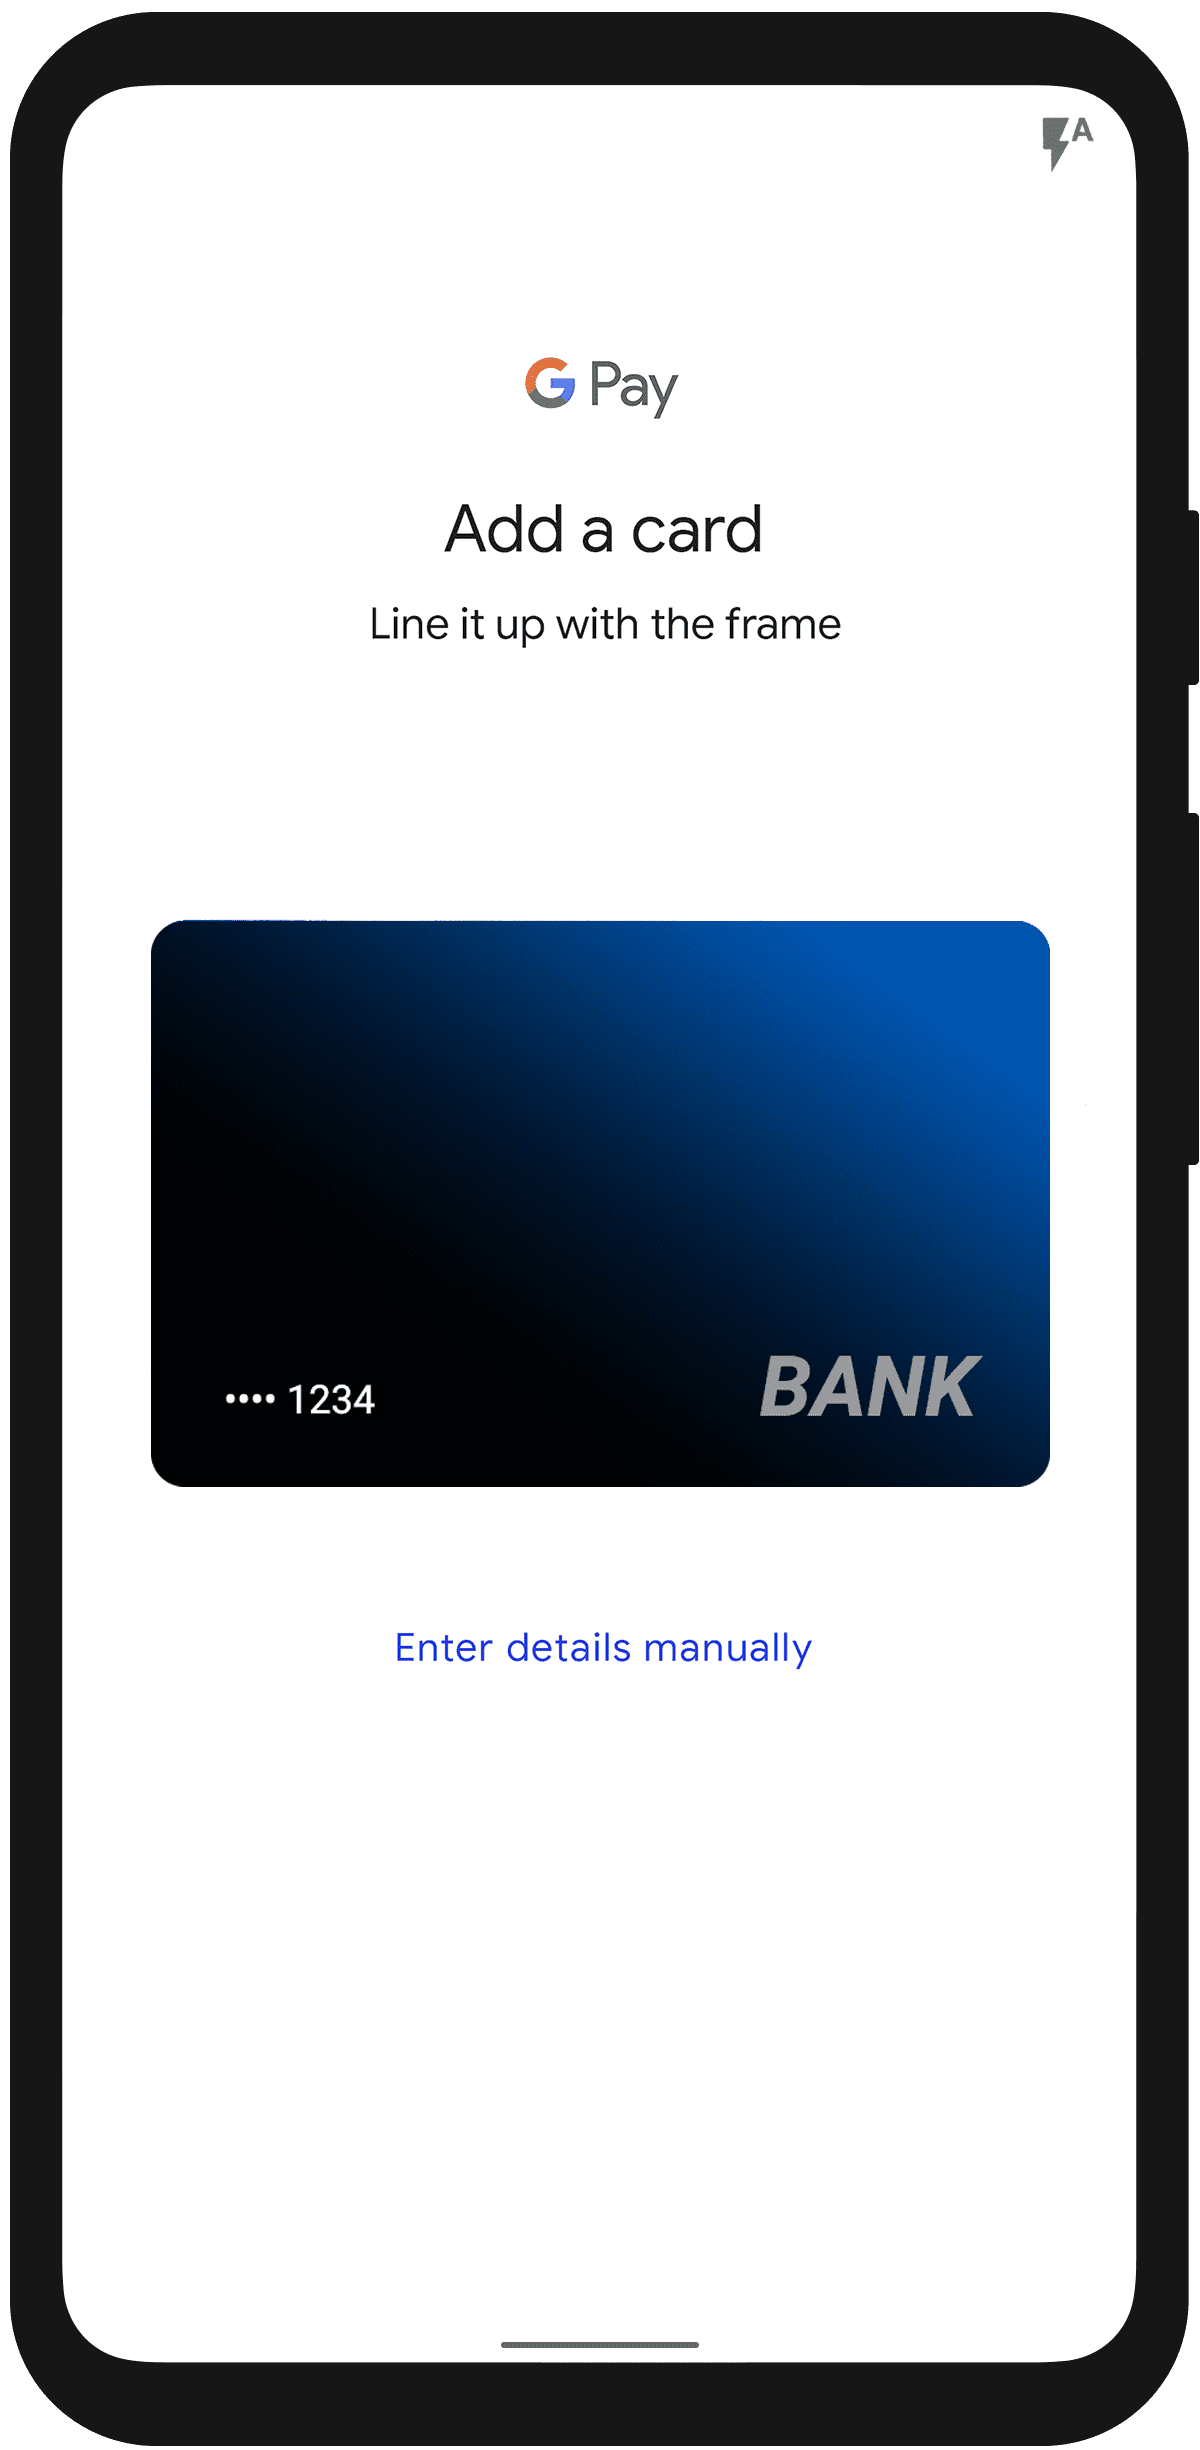
- You can use your phone camera to scan your credit or debit card, enter the security code, and enter and confirm the address generated automatically that is associated with the card.
- You can enter the card information manually.

Once entering your information, scroll through the “Terms of Service” and press “Save.” The app will reach out to contact your bank institution. You will be prompted to accept your bank’s terms to continue. When your bank verifies your bank card, the card is now ready to use with Google Pay on any store or platform that accepts the payment platform.
How does Google Pay (GPay) work?
Google Pay takes advantage of the payment tokenization technology. The technology works by substituting the existing card details on a debit or credit card with a unique code referred to as a token. Payment tokenization adds an extra layer of security to users’ sensitive data preventing card frauds and digital data breaches. It also prevents retailers from having access to a customer’s payment information. The retailer is only given access to the customer’s tokenized account information, while the customer’s credit or debit card information is hidden.
When you tap the Google Pay payment button, you see a payment sheet with a list of supported payment methods. You need to select one of the payment methods. Whichever option you choose, Google Pay starts by collecting sensitive credit card information from your device.
It is worth noting that Google does not store your Primary account number (PAN) on the device itself. The device, instead, sends the PAN securely to the Google servers over HTTPS (a protocol that ensures secure communication over the internet)
The Google servers use the PAN to identify the bank of the user. Once the user’s bank is identified, the account number is securely sent to the target bank over the network. The bank validates the PAN and sends it to the Token Service Providers (TSP) for a payment token. The payment token is sometimes referred to as the Device PAN or D-PAN. The token is then sent back to the Google server, where it is forwarded to the device for safe storage in the app’s wallet.
To execute the payment, the backend processes the purchase and sends the payment token to the payment service provider. Without getting into too many details, this is how Google Pay processes mobile payments for you.
Wrapping Up
Google Pay can make contactless payments in retail stores, make purchases online, and send money to friends and family. Many popular ride-share apps like Uber and Lift let you set Google Pay as your payment option. It may not be the most convenient option for sharing money with friends and family. However, it still offers a lot of functionality and is an excellent option for reducing the number of cards you must carry in your wallet.
