iOS and Android are worlds apart, but the century we live in today is akin to bridging gaps between two ends of the spectrum, no matter how far they’re located from each other. The same is the case with using iMessage on ChromeOS, which may seem like pure ridicule at the beginning, but is more than possible when it truly boils down to it.
Chromebooks are capable machines known to work their way unusually around regular stuff and grant users access to a swath of desktop-grade apps and software. By looking at Steam on ChromeOS (not Steam alpha), WordPress, and Kali Linux on Chromebooks, we firmly stand by that previous statement.
For now, though, let’s talk about everything iMessage and how one can get the popular iPhone and Mac chat messenger to work on Chromebooks. Let’s get started with no further ado.
- In the meantime, check out: The 10 best Google Easter eggs on Chromebook.
What is iMessage?
iMessage is Apple’s front-running messaging service that caters to iPhone, iPad, and Macbook users. It’s prominent within the Messages application on an iOS device and is marked by a major highlight confirming that the iMessage service is active. To spot this, you must look for the blue background of your sent texts.
If the background of your texts is green, then it would appear that the person on the other end isn’t using an Apple device and only you’re an iOS device holder. That’s perhaps one of the biggest limitations of the iMessage service as opposed to everything it does right.
To this date, Apple users have taken pride in the overall convenience posed by iMessage ever since the technology’s inception in 2011. Not only does it allow one to enjoy an end-to-end encryption service that usual SMS or MMS technologies do not offer, but an added expanse of high data transfer volume also makes iMessage a preferable pick.
Another first-rate quality attribute of the messaging service at hand is that it allows iPhone users to text each other for free without charging anything extra. Moreover, there are certain apps and extensions too that can sort you out and revamp your iMessage experience.
Apple pays attention to detail, especially with its apps, so it’s no wonder how iMessage has been curated to almost near perfection in customizability and ease of use. The cherry on top is that you can even send GIFs, stickers, videos, react, and plenty of other messages to keep the conversation flowing and away from monotony.
The Messages app, therefore, has seen a radiant upgrade in its working capacity ever since iMessage hopped on board. However, don’t expect it to be of any service to you if you do not own an Apple device, such as an iPhone, Macbook, a computer running macOS, and even an iPad.
So, the question is raised: How can you use this seemingly convenient technology on a Chromebook? If there’s anything we can shed light on regarding the matter at hand, then it’s inevitable that nothing is 100% impossible in the field of tech and IT. An operating system as flexible as ChromeOS can be subjected to versatility, allowing it to run unique apps.
With that said, there are certain things that you need to be aware of to potentially fulfill to enjoy iMessage to a reasonable extent on ChromeOS. We’ll be detailing what you need to know about this in the next section, so let’s continue from there without any further delay.
Installing iMessage on a Chromebook

The outline for using iMessage on ChromeOS
Of course, iMessage functioning all nicely on a Chromebook appears to be a novel prospect, but it isn’t unrealistic. You have to take care of several prerequisites, and you’ll be golden. Let’s overview these essential preconditions using the following bullet point list.
- A device running one of the latest versions of macOS.
- The macOS device has the AirMessage Server app set up and installed.
- A Google Play Store app called AirMessage (optional).
To clarify, it’s not possible to install iMessage on a Chromebook, per se, but there is a genuine way to access the message service nonetheless. Ad hoc, you will need a Macbook that runs one of the latest versions of macOS, followed by an Apple ID, of course, so that you can sign into it in the first place.
Lastly, an Android application called AirMessage will help join the dots and allow the Chromebook to set itself up for remote access. That said, pursuing the Google Play Store tool is unnecessary if you don’t want to. AirMessage Web can help you deal with this stuff using your trusty Chrome browser.
If you get it right, the prospect should be a success, so let’s break down everything you’ve got to do here step-by-step, starting with installing a server on your Mac computer. Then, as we move forward with the tutorial, we’ll take things from that point onward.
Step 1. Installing an AirMessage server on macOS
One of the two things that you have to make sure of pertains to the installation of a dedicated AirMessage server on that Mac computer we mentioned earlier. Thankfully, the developers of this novel software have already laid out the exact instructions you’ll need to follow to get the server up and running on a compatible Macbook.
However, ensure that the computer you’re using can act as the host device for what we’re about to achieve from here on out. According to the official requirements for installing an AirMessage server, the version of the operating system needs to be macOS 10.10 Yosemite or newer. Please be aware of this point before moving ahead.
Without AirMessage Server—which is what the hosting functionality is called—you won’t be able to receive messages using the iMessage service on your Android device, which is a Chromebook in our case. Now, continue downloading the AirMessage Server for macOS using the link above and follow the on-page instructions accordingly.
After the software downloads, run the executable file and install the program. Proceed by setting up the AirMessage Server with your Google account, which should be nothing but a walk in the park.
Some essential pointers that you should be wary of about the installation revolve around providing “messaging” access to the AirMessage Server on your Mac computer, not to mention the requirement of toggling off your Mac’s sleep mode, so the server can run for as long as it wants.
You may get the screen to dim, but the operating system will still need to be awake. The developer suggests installing and using an extension like Caffeinate to prevent the AirMessage Server from shutting off when you close the lid of your Macbook. That said, the latter only applies to Macbook laptops, not computers running macOS.
As soon as you’ve taken care of these prerequisites, continue ahead with the second major step. We can already tell you that the first part needed for using iMessage on your Chromebook is complete. What ensues ahead is an even easier obstacle to deal with.
- Just a tip: If you don’t have an iPhone where once can employ the iMessage service through the Messages app on the phone, feel free to create an Apple ID online at no additional cost and use that to sign into iMessage right on your Mac computer. Doing so negates the need for having an iPhone or a working SIM card.
Step 2. Setting up AirMessage on your Chromebook
With the first step of the process of this two-part operation out of the way, what is left now is a simple installation of a Google Play Store application called AirMessage. The developer of the application is called Tagavari, so you should be able to spot it on your end. Alternatively, clicking on this direct link for the AirMessage application will also bode well.
Get the proper application, identical to the one shown in the screenshot, and download it on your Chromebook. The file size isn’t a lot, so you should be able to get it on the device in a matter of minutes. Lastly, there’s no constraint of having a high-end Chromebook only; otherwise, the application wouldn’t work.

AirMessage app on the Google Play Store
- Related read: Top 20 Google Play Store apps for Chromebook.
Now, if, for some reason, you cannot grab the AirMessage app from the Google Play Store; whether the device shows you an incompatibility message or you’re sporting a pre-2018 Chromebook that does not run Android applications, AirMessage offers a practical solution here.
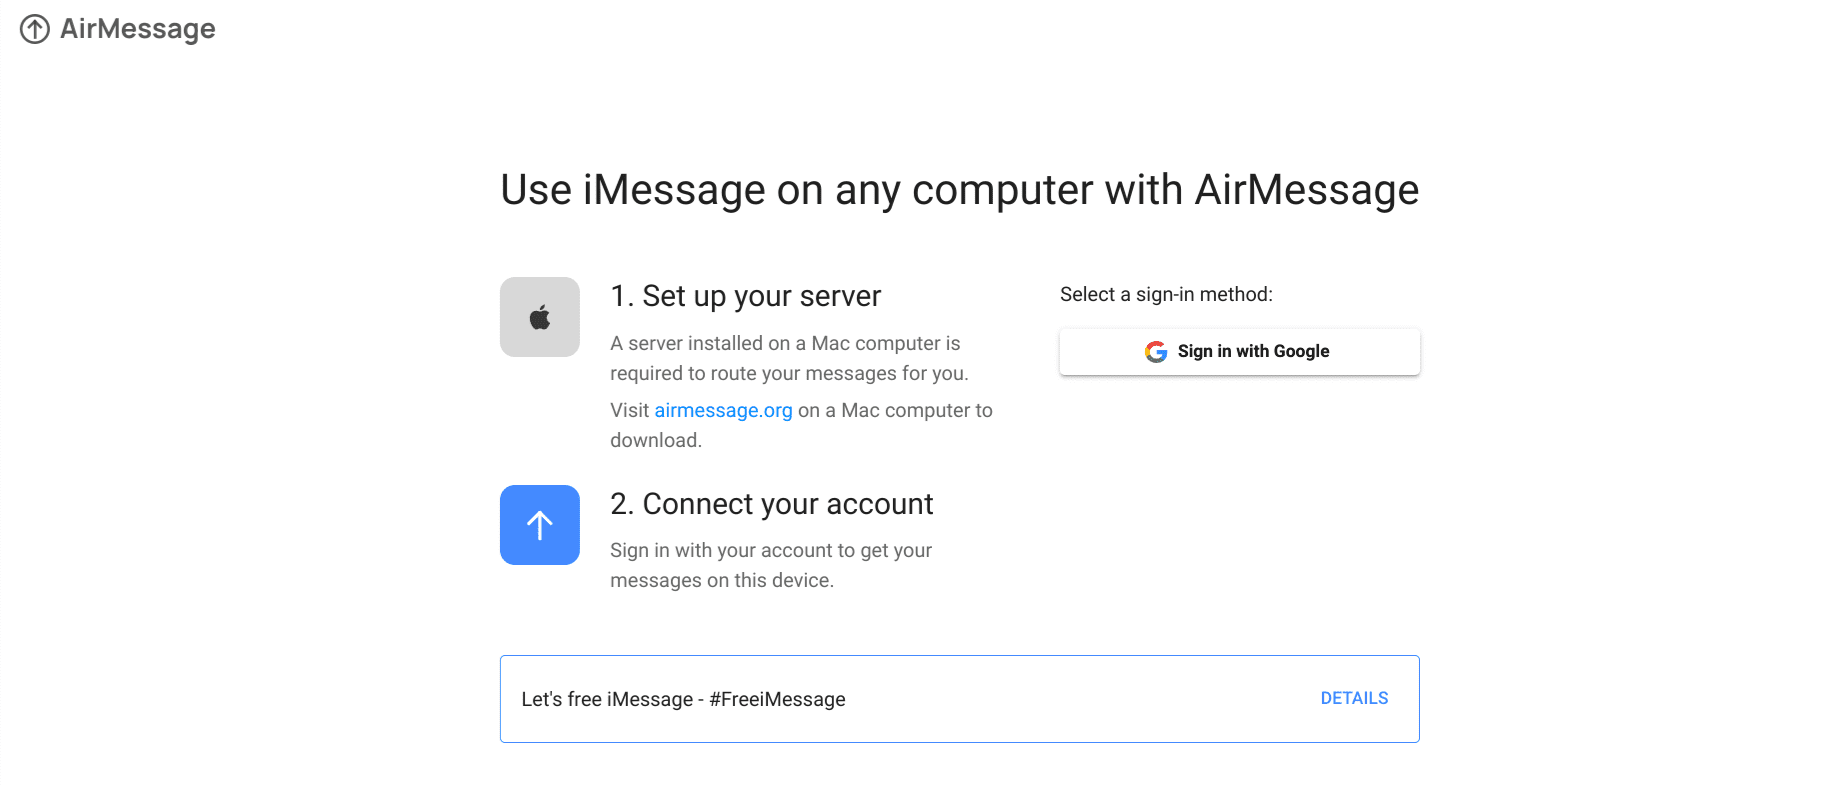
Similar to how you can use Microsoft Office on the web with a Chromebook by your side, this iMessage-centric application can help us work a solution out in the comfort of the Chrome browser—no questions asked. Head over to the web handle of AirMessage and select the sign-in method of using Google.
Please ensure that this is the same Gmail account you used earlier with the AirMessage Server on your Mac computer. Ideally, this email address should be the one that you use to log into your Chromebook. If you hit the perfect trifecta this way, you’ll be set up to succeed in no time.

Signing into AirMessage with Google
After signing into AirMessage with your Google account on a Chromebook, the two ends — AirMessage Server and AirMessage on ChromeOS — will be compelled to connect to each other. Doing so should do the trick for us, allowing you to receive messages through the iMessage service and send them back.
That’s all there is to the tutorial! You’ve successfully learned how to use the iMessage service on ChromeOS, given the layout of the easy-to-grasp instructions above. We genuinely hope that you’ve sated your curiosity about using an Apple product on an essentially Android device.
Conclusion
Chromebooks will eventually tackle most obstacles thrown their way in 2022, with gaming at the forefront of it all. That is to say, the one thing making ChromeOS great for gaming is the relatively recent introduction of Steam alpha to this sleek operating system, not to mention the seemingly radiant presence of the Google Play Store as well.
However, despite all that Chromebooks are capable of, what often fascinates us is the overall capability that these minimalistic devices are packing, allowing users to sport the likes of iMessage on their end with the simple help of a web-based tool. Let us know whether you found this article useful for your cause.
As always, Chrome Ready wishes you good luck!
- Another interesting read: How to watch Apple TV+ on a Chromebook.
