While the question is legitimate, the answer is quite apparent. Yes, you can safely delete photos from your device after the backup process to Google Photos becomes a success, but there are still some concerning factors that you should acknowledge in this regard. This guide will cover all there is to know about this, so feel free to read until the end and leave this article with the correct information.
- Recommended: How to enable Google Lens in Google Photos easily.
What is Google Photos?
Google Photos is one of the world’s most capable cloud-based storage platforms, offering users 15 GB of free storage while allowing higher plans to be purchased. The developer has seemingly created this whole ecosystem of relative applications, such as Google Drive, Gmail, and, of course, Google Photos, and put them all under one umbrella: Google One. This makes it easier to keep track of things, so it is definitely a worth-it venture from the company’s side.
Now, Google Photos isn’t just good for keeping your data safe and sound; the developers have made the platform much more stand-out by introducing a swath of editing options. Some of the best tools you get in this regard include portrait effect and depth editing, extracting text from images, deleting blurry pictures, and even stabilizing your videos reasonably.
You can enable Google Lens in Google Photos to add a depth of extra functionality in your working capacity. If you ever need to back up your WhatsApp images, then Google Photos also offers that specific functionality. However, all this application offers users isn’t as right as rain. Some features presented may not do much good, such as Link Sharing. The good part is that you can toggle off those extra add-ons effortlessly from your side.
Now that you are all caught up with the know-how of Google Photos, there’s something that we feel we should address here. Google Photos has been around for a reasonably long time now, but those who are new to the platform do show concern about whether it’s truly reliable or not in terms of security and its system of fool-proof features as well. That is to say; many would worry that after backing up their photos to the app, deleting them would spell permanent deletion.
Let us consider this scenario and discuss the answer in the following section.
Should you delete your photos after backing them up to Google Photos?
To answer this directly, then yes. You should delete your photos after backing them up to Google Photos. Once a particular image gets uploaded to the popular cloud-based image platform, it will stay there until further notice. Therefore, you can feel free to rid your system of those backed-up photos. However, you must ascertain that the “Back up and sync” option has been enabled on your Google Photos application.
Otherwise, you are likely going up against some semblance of risk where your photos might not be uploaded to Google Photos, and deleting it would mean permanent deletion. Of course, that is the least desirable scenario in this case, so there’s a need to be precautions in this respect. Open the Google Photos application, click on your profile icon in the top-right corner of the screen, and visualize whether it says, “Turn on backup and sync.”
Check out the screenshot below for a visual explanation of how you’ll get this done. It should be a walk in the park, even for the most casual types of users. Notice how the toggle is colored light blue; it means that the photos are automatically backed up. Now, do notice that there isn’t any progress tracker within the menu that would signal a backup under progress. If you spot anything like that, it’s advised to wait until the procedure finishes.
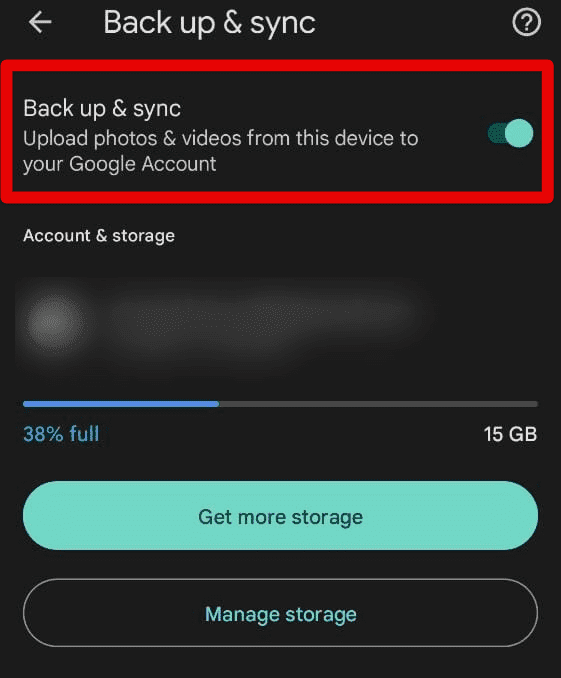
Making sure the “Back up and sync” option is toggled on
If the prompt states the latter on your end, it probably means that your photos have not been backed up to Google Photos yet. In a situation such as this, you will need to stay ahead of the curve by first making sure that the “Back up and sync” option is enabled on your smartphone since that is where most of the uploads happen seamlessly and not on Google Photos web.
After making sure that there are now two duplicate copies of your photos on Google Photos and your device, you can proceed toward deleting the relevant images without any further potential issues. The images that have been properly backed up will go nowhere, provided that you do not deactivate your Google Photos account or remove the backed-up photos from the platform itself.
So, now that you have the extended version of it, it’s no question whether you should or shouldn’t delete photos from your device after backing them up to Google Photos because the answer is always going to be an unequivocal yes. Now, however, we will bring an easy-to-follow tip for you so you, as a Google Photos user, can maximize this opportunity to remove backed-up images and pictures from Google Photos safely. Let’s check out what we mean in the next section.
How to use the “Free up space” feature in Google Photos to safely delete photos from your device
To cater to concerned users who might hesitate to remove backed-up images from their devices, the developers took a step ahead and incorporated a feature that would allow people to breathe comfortably while deleting such photos. This functionality is called “Free up space” and integrates with your device profoundly while actively scanning and checking for present duplicates.
This feature essentially cross-matches your backed-up photos with the ones that are present on the device. If any similarities are found, the user on the other end is notified immediately and made to make the relevant changes in that context. It’s a pretty nifty feature that allows you to take risks with your concern and impose everything on the Google Photos application itself.
Therefore, you will no longer need to take guesses yourself and stay on the fence about the deletion. Now, without further delay, let’s learn what it takes to use the “Free up space” feature in the Google Photos application. Please note that this functionality cannot be used on Google Photos web. Only an Android or iOS phone can handle it moving forward, so we recommend switching to a compatible device right away. The following steps are going to take it from here.
1. The first step is to open the Google Photos application. You can do this easily from the app drawer of your mobile phone.
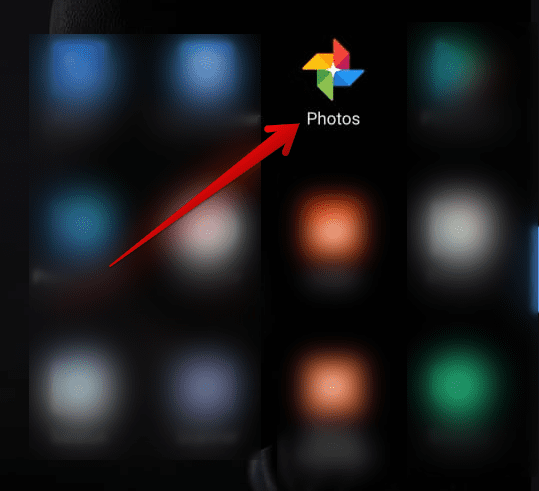
Opening the Google Photos app
2. The next step is to click on your profile icon in the top-right corner of the screen. Doing so should reveal a swath of whole options on your end, allowing you to click on the relevant one in the forthcoming phase.
Clicking on the profile photo icon
3. After clicking on your profile icon and receiving the list of options on your end, click on “Free up space” to get to the next step.
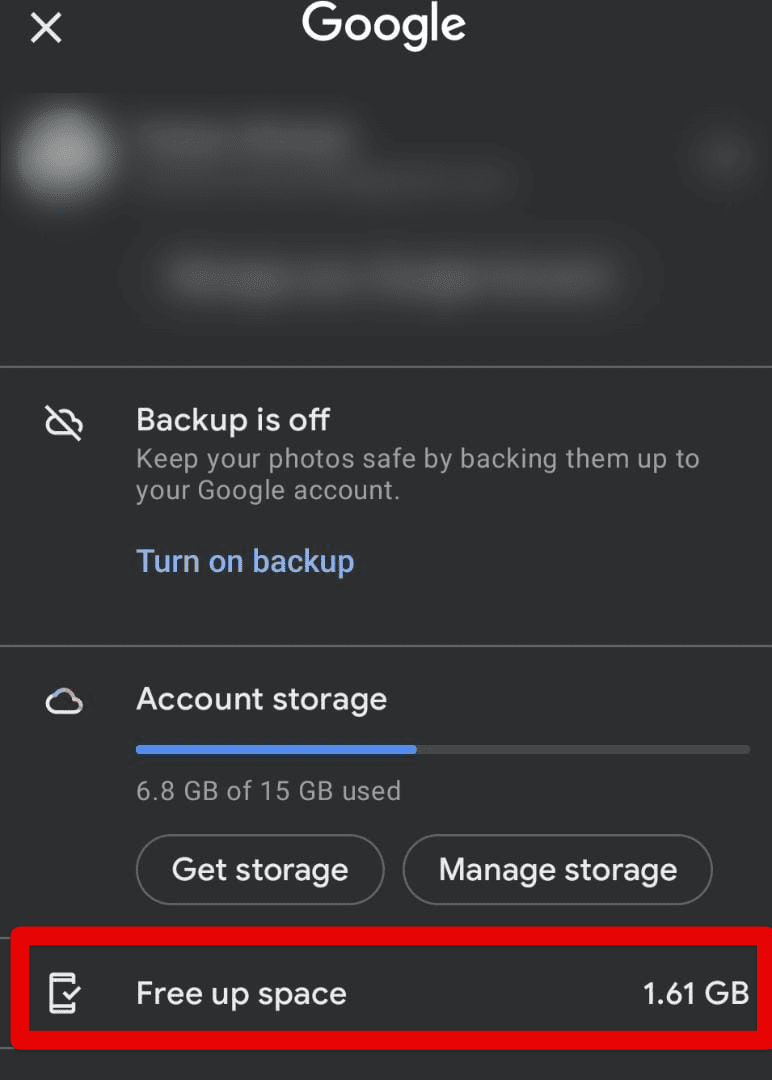
Clicking on the “Free up space” button
4. Clicking on “Free up space” will bring you to a different screen page. This is where you will be detailed on exactly how much data you’ll be deleted from your phone. Click on the “Free up” button that states the data size to be freed to get to the next step.
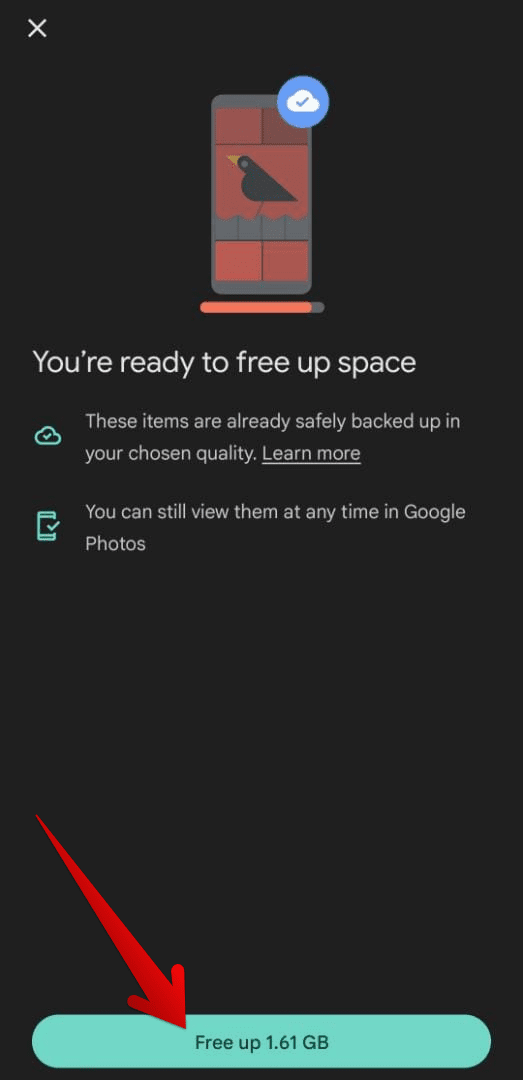
Clicking on the relevant button
5. To continue, click on the “Allow” button that appears inside a prompt right when you complete the previous step. You’ve done great so far, so it’s only one final step that remains to be done.
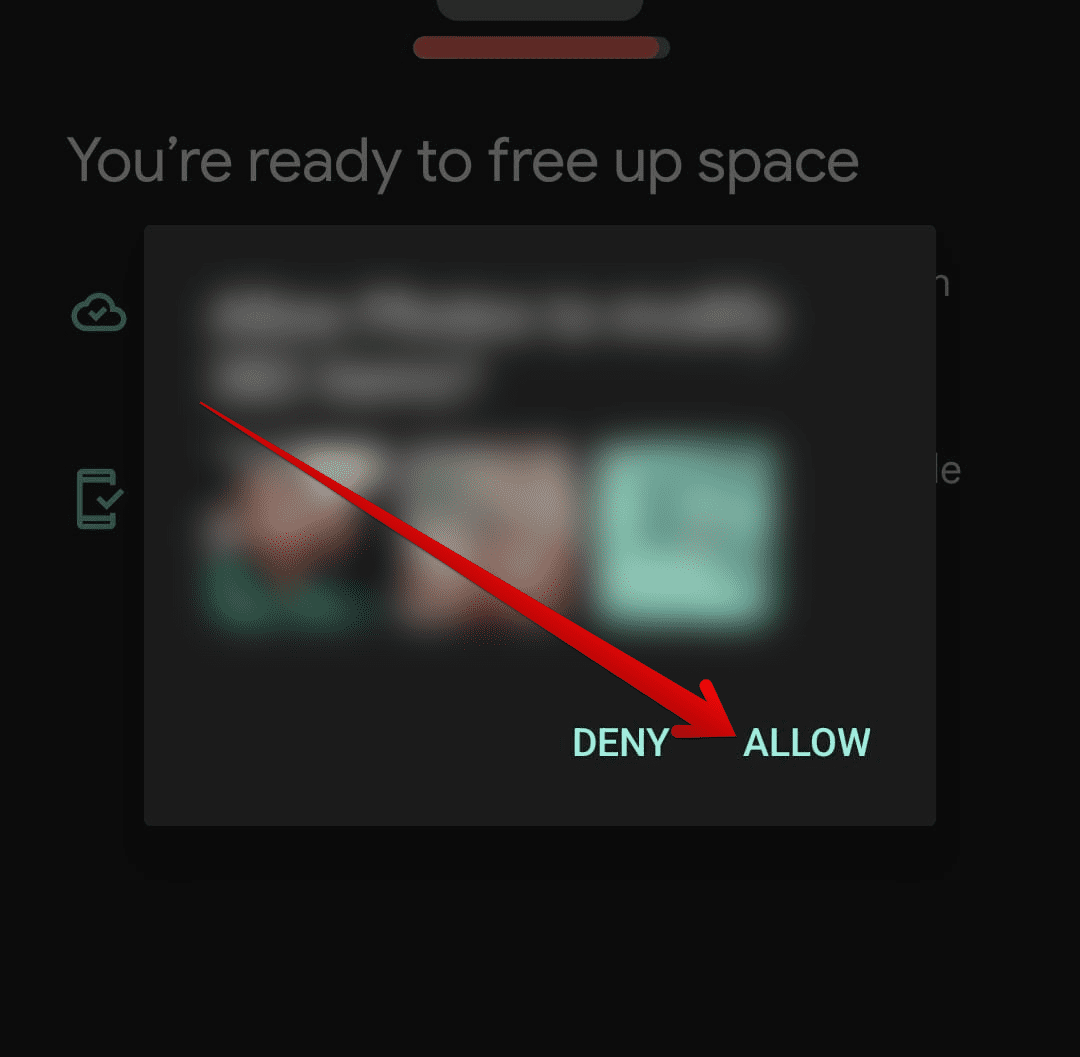
Allowing the operation
6. The final step is to wait until the process finishes on its own. Google Photos will automatically free up space on your device by cross-checking the photos it has stored on its remote servers from your account with the images available on the device. Similar photos that look identical to each other will be deleted. Therefore, this comes across as a safe and sound approach to the task that you’re trying to accomplish here.
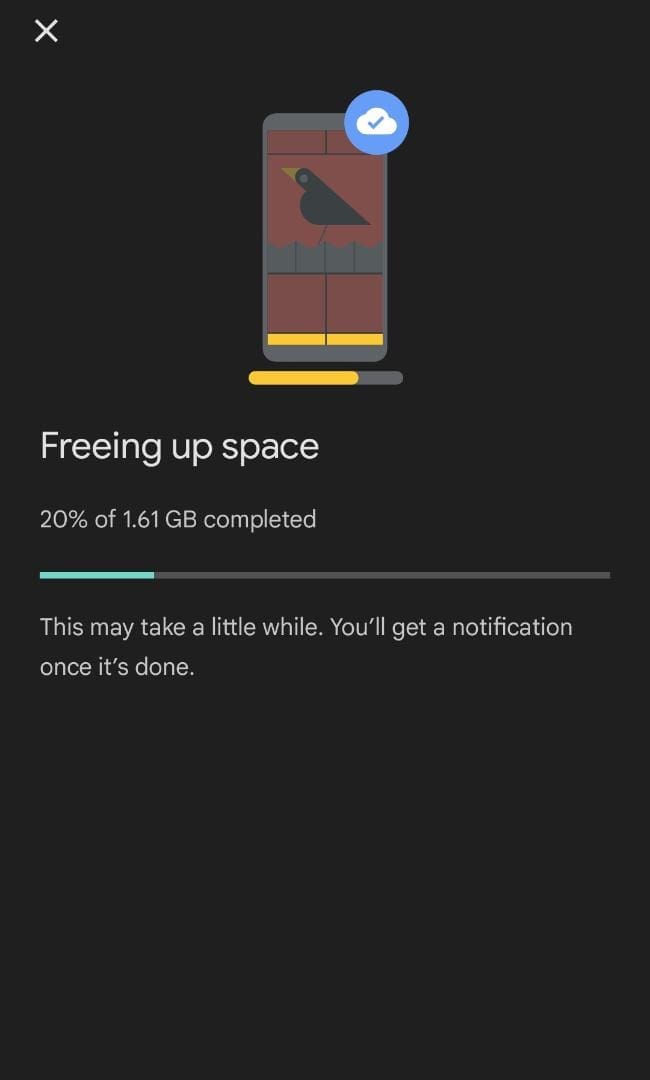
Waiting for process completion
That’s all there is to learn regarding whether you should safely delete photos from your device after backing them up to Google Photos. It is now high time to conclude the article, as the write-up above has laid out the instructions for you in a clear format.
Conclusion
In this guide, we have taken a better look at Google Photos, how the platform works, and whether it’s safe for a person to delete the photos from their device after backing them up to the famous cloud storage platform. In conclusion, yes, it is not an issue for one to trust Google Photos with its working mechanism and then proceed toward deleting identical photos. The cherry on top is the “Free up space” feature that automates the process for us without having to put in any manual effort.
Do let us know in the comments section below whether you found this article useful for your cause. We would be delighted to read your feedback!
