If you’ve been meaning to learn how to import Google Photos onto a USB flash drive, you’d be thrilled to know that the procedure isn’t complicated. All you need to do is follow a bunch of steps diligently, and you’ll be done in no time. So keep reading to discover what to do and accomplish the task without breaking a sweat.
ChromeOS is loaded from top to bottom with accessibility tools and features that ensure no user — expert or beginner alike — will experience a speck of difficulty navigating the general user interface. You’ve even got a generous port selection with Chromebooks for peripheral device support, so plugging in USB flash drives isn’t an issue.
- Related read: How to use Google Photos Live Albums feature effectively.
What makes Google Photos stand out
From allowing people to digitize their old polaroids to recovering deleted photos, Google Photos is a feature-packed cloud-based storage platform that works in harmony with the rest of Google’s proprietary software, such as Gmail and Google Drive. However, we must tell you that subscription plans are also associated with these applications.
The developer likes accumulating all its potential services into a single package called Google One. Using the latter, you can purchase additional storage across all the major cloud-storage apps of the famous US-based tech company, including Google Photos and Google Drive.
- Speaking of Drive, here are 10 of the best tips for a great Google Drive usage experience.
What makes Google Photos stand out in the competition, especially when it’s up against power players like iDrive, Dropbox, and Microsoft OneDrive, is its capacity to edit your photos and videos rather than just store them. This is one of the defining highlights of what we have here, so rest assured that Google Photos is more of a full-fledged experience.
In addition, some of the functionalities that Google Photos is renowned for revolving around creating animated GIFs and movies, editing timestamps of images, and a bevy of other cool hidden features. You can get a lot done with Google Photos, provided that you can get the ball rolling with the program on your end.
Now, the application in question can handle your photos online, as per its agenda, but if you’ve been meaning to fill up a USB drive with some of your selections from Google Photos, there is a way you can help yourself out. The following section will take it from here and guide you further regarding the matter at hand.
Getting Google Photos images onto a USB drive
If you want to get your Google Photos images onto a USB drive, you must follow a bunch of steps, and you’ll be golden. The gist of it is that you first have to sign into the Google Photos web app on your end, download the photos you wish to convert to local storage, and finally plug in the USB to make the transfer.
The steps outlined will explain the nuance in-depth, so feel free to replicate them on your end for the best results.
1. Fire up your device’s Google Photos web app. Then, visit the Google Photos official website to move forward. Once you’re there, you might need to sign in with your Google account if you haven’t done that already.
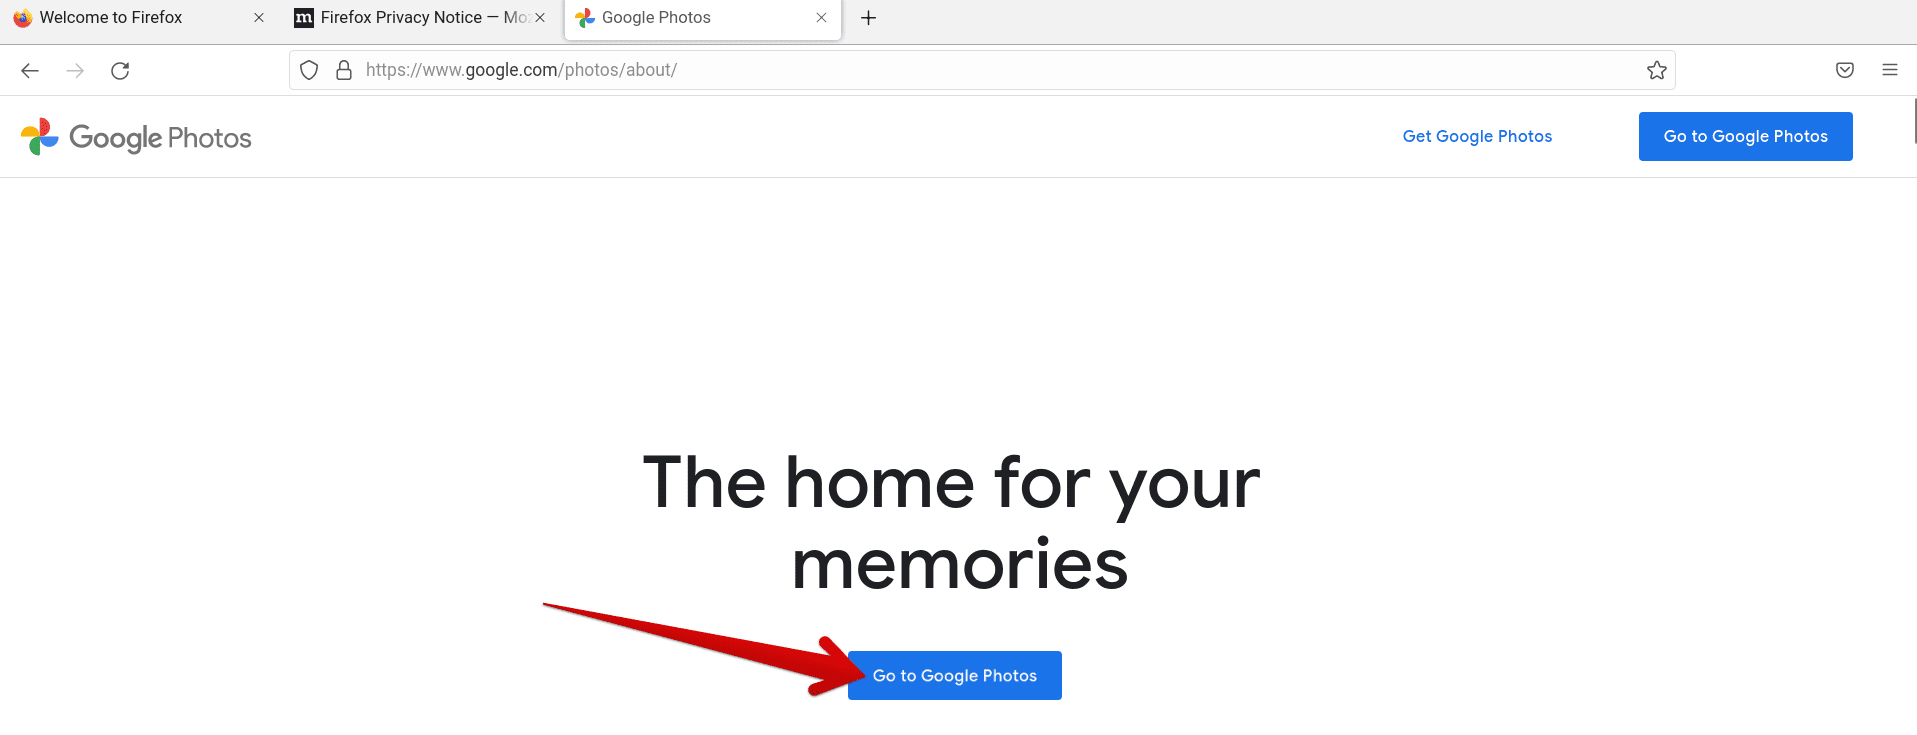
Signing into Google Photos
2. After signing in, you will be taken to the main Google Photos home page. That is where you’ll be able to visualize all uploaded photos. Now, you’re going to select the images you wish to import onto a USB flash drive either one by one or simply mass-selecting a bundle of photos. The following picture is to illustrate how you’ll get this done.

Selecting the photos in Google Photos
3. After selecting your desired photos, the next step is to download them to your Chromebook’s local storage. You can click on the “Options” button in the top-right corner of the screen to reveal the “Download” feature. Alternatively, the shortcut key combination of “Shift + D” will sort you out the same way.
In a moment or two, as Google Photos prepares the files for download, you’ll see the progress tracker for the download appear right above the status bar so you can visualize the remnant download left.
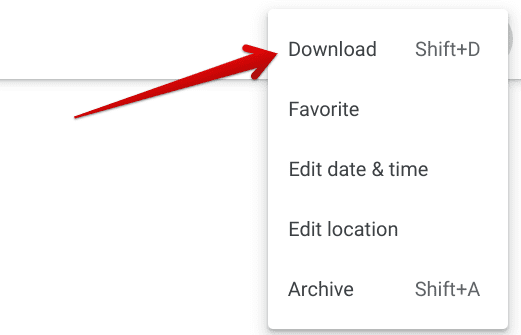
Downloading the selected photos
4. As soon as the download finishes, you can plug in your USB drive at this point to make the transfer happen swiftly. Proceed to the “Files” system application and locate the photos you’ve just downloaded. The files will be bundled inside a ZIP folder that you may choose to unzip and extract its contents to any other folder.
Another way is to opt for a different route and import the whole ZIP folder to your USB drive altogether. We’ll be choosing the latter for this illustration. Then, click on the downloaded photos folder and select “Copy.” You may as well repeat the process for individual photos if that’s what you’d prefer.
Now, head to the USB drive inserted into your Chromebook and paste the copied contents. This should be nothing more than a walk in the park. Check out the following screenshot for a better illustration of how to get it done.
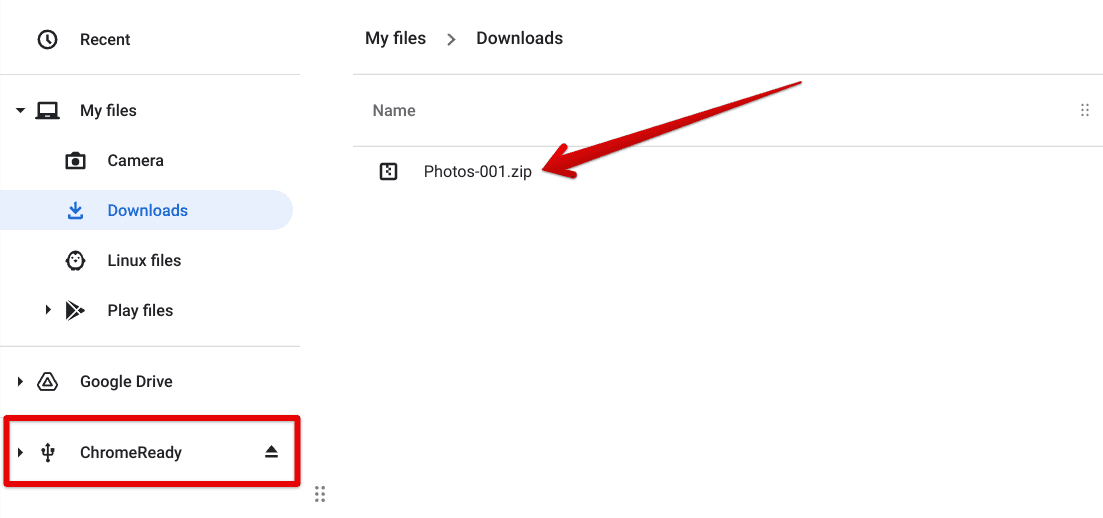
Importing the Google Photos images to the USB drive
5. That’s all there is to worry about! You should have completed the import process of the Google Photos images on your USB drive. All that you need to do now is eject your USB drive from your Chromebook to make sure the contents of the thumb drive remain safe and sound.
The process can take time, depending on the overall size of the photos you’re trying to import here. However, the progress tracker above the status tray will state an approximate time left before the operation concludes.
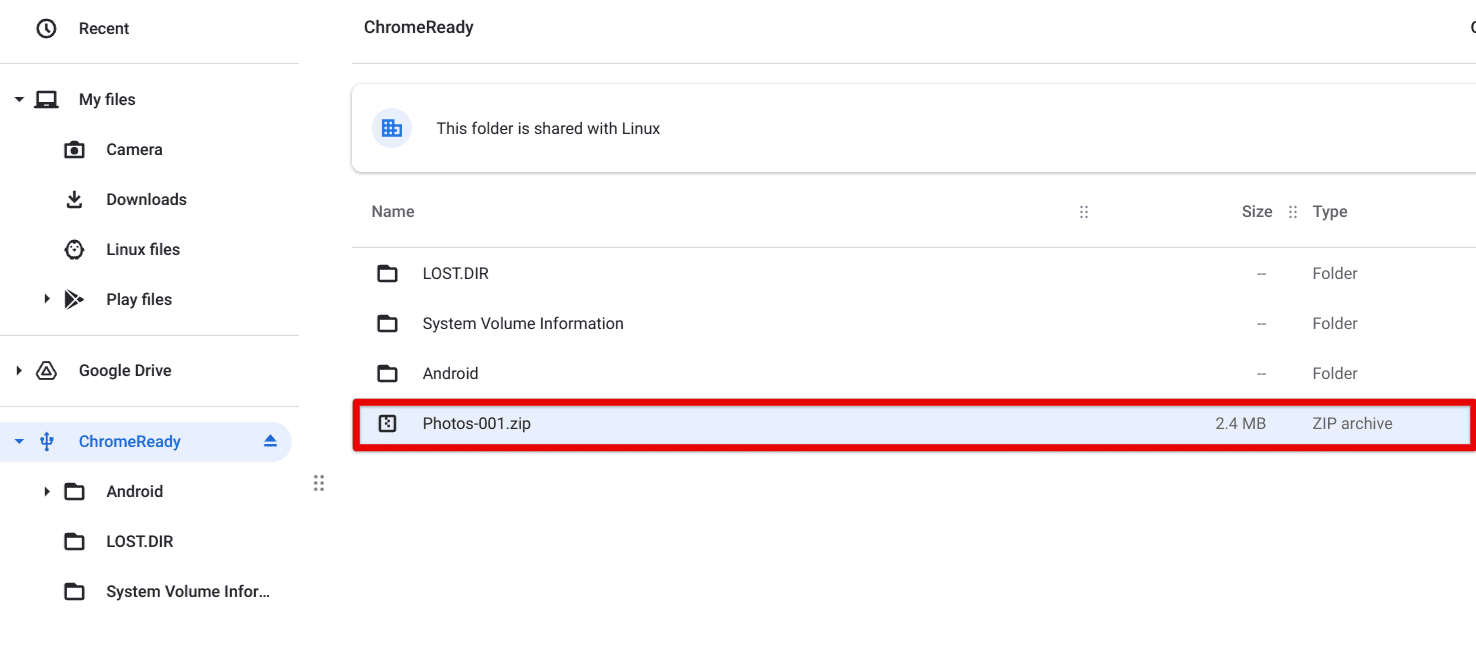
Google Photos images imported to the USB drive
You should now be left with successful results on your end—time to sum things up and bid you farewell.
Conclusion
Cloud-based storage solutions are the future. While they’re not currently at an exceptionally sustainable level on a global scale, we can easily visualize this technology becoming more ubiquitous over the following years. That is to say; their expansion will come to a point where local storage won’t be the norm anywhere.
Of course, there will still be individuals who’d like to have their stuff securely tucked away on a USB drive, but the trajectory with which Google Photos is making strides in 2022 does set it up for a bright future.
Now that you know the essentials surrounding the program about importing photos on a thumb drive with its help, do let us know in the comments section whether you found the tutorial helpful for your cause. As always, Chrome Ready wishes you good luck!

1 comment
I’ve been wanting to do this for a long time, this has been extremely helpful. Thank-you.