Google Photos is one of the world’s best cloud-based image storage programs. It boasts an active user base of more than 1 billion users, thanks to the swath of features it comes with that relate not only to the storage compartment of the platform but to its editing capability just as well. For instance, it’s even possible to digitize your old polaroids in Google Photos, not to mention the Google Photos live albums functionality.
When you’re not creating animated GIFs and moving using Google Photos, you can turn to video-making and create breathtaking pieces of art from them. Of course, Google Photos does not comprise state-of-the-art video editing capabilities like Adobe Photoshop or GIMP. However, it’s still pretty helpful for those looking for lightweight editing and similar functionalities.
In this guide, we’ll take a close look at how to use video stabilization in Google Photos, so follow along with the forthcoming tutorial for the best results.
What is Google Photos?
If there’s any multi-faceted application that Google offers to its user base that hoards a ton of features, then we’re pretty sure Google Photos is among those picks that make the cut. This software provides users with a repository for storing their images and memories on the fly without indulging in the backup process themselves. Of course, the functionality is more preferred on mobile platforms in light of that, but that doesn’t mean Photos isn’t available on PC.
Google Photos is available on any system that can access the internet, whether a Linux machine, a Chromebook or a Windows PC. All you need to do is sign in using your Google account and make your way to the Google Photos domain for tip-top success. It’s as easy as that to get going with the famous image storage platform. After that, it’s your choice whether you wish to make private Google Photos albums or explore some of the app’s hidden features.
Moreover, it does bear noticing here before moving forward with the rest of the information that Google Photos is part of the mainline Google One subscription plan. The latter comprises a bunch of other Google’s proprietary applications, such as Google Drive and Gmail, all of which fall under the same umbrella term here. There is a certain extent to which Google allows one to utilize its services for free, but the moment your requirements exceed, you’ll have to pay.
But Google remains flexible, presenting a diverse purchasing plan, so people can opt for whatever they deem suitable to their preferences. Now, if you require the services of Google Photos on a lighter note, you’ll find this software up to the mark every time you sit down to use it. Explaining one instance of this scenario further in the following section will teach you how to stabilize videos in Google Photos.
Stabilizing videos in Google Photos
Before getting started, you should know that the video stabilization technique isn’t something you can do on the web-based version of Google Photos. The functionality is reserved for the mobile version of Google Photos only, which is available on Android, iOS, and other supported mobile operating systems. So, unfortunately, you won’t be able to follow through with video stabilization on a Windows PC online if that is what you were hoping to get at.
Without any further delay, let us outline the process of stabilizing your videos on an Android phone, so you can learn exactly how it’s done. The procedure is simple and only warrants you to perform a bunch of steps before you can process the video. With that said, the following guidelines will take it from here. Note: Even if you’re on an iPhone, the fundamentals of the steps can still be implemented quickly.
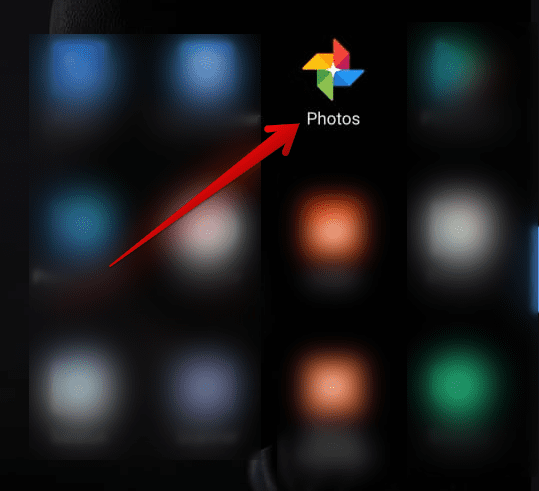
1. The first step is to open the Google Photos app on your Android phone. This can be done quickly with the help of your home screen or the app drawer section.

Opening the Google Photos app
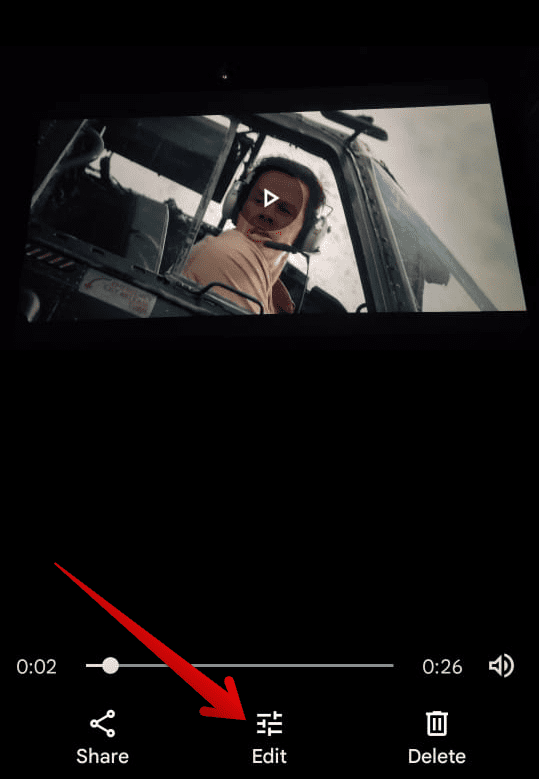
2. As soon as you’re done with the first step, you will need to choose the video you wish to stabilize. This step will solely rely on you since it’s required to pick the video that needs to be stabilized as per your desire. As soon as you’ve decided, tap on the video to enter the “Editor” menu. Then, click on “Edit,” as shown in the video below, to proceed.

Clicking on “Edit”
3. After clicking on the “Edit” button, it will take a while for Google Photos to process the video. As soon as it finishes, you’ll see the “Stabilize” icon pop up right beside the “Mute” icon. Next, click on the feature in the screenshot below to begin the stabilization process. Again, the procedure will take a dedicated amount of time, depending on the length of your video.
Clicking on “Stabilize”
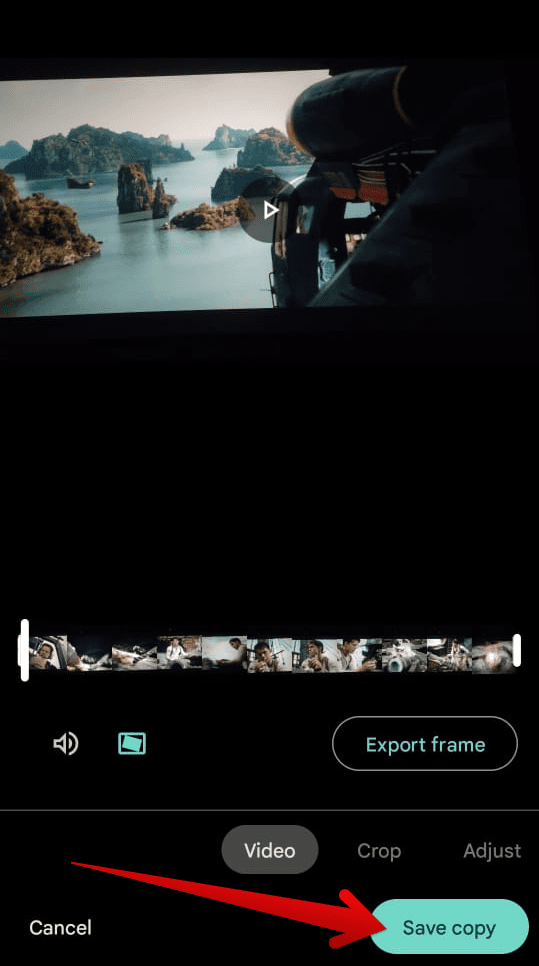
4. After the stabilization process has been completed, you will see the “Stabilize” icon light up in blue to indicate that this video has already stabilized. All you have to do now is either continue making other changes or click the “Save copy” button, as shown in the screenshot below, to finalize the process.

Saving copy of the stabilized video
That’s about it! You’ve successfully learned how to stabilize videos in Google Photos on a mobile operating system. It’s time to wrap up this article and finish things off with a conclusion.
Conclusion
Google is slowly dominating the globe with the wealth of applications and related software it has for people worldwide. All in all, billions of people are subscribed to Google in one form or another, whether they’ve purchased a Chromebook, paid a monthly Google Drive storage fee, or are enjoying any other paid form of premium Google content. The same is the case with Google Photos.
The moment you become a paid Google One subscriber is the time you’ll begin to realize the swath of premium-grade features that are unlocked in the wake of it. In this guide, we have learned the essence of stabilizing videos in Google Photos, so you can reap higher quality of your footage without turning to a professional editor. Please let us know in the comments section below whether you’ve found this guide helpful for your cause.
We would love to hear from you!
