Have you ever used a flatbed scanner for digitizing old photos? Well, many people don’t even have one in their homes, to begin with. But thanks to a remarkable device almost all of us have, a smartphone, we can easily convert any old Polaroid into a digital image. That has been the case ever since Google Photos launched its scanner application on both Android and iOS.
Google Photos benefitted from the camera capabilities of modern mobile phones and built a standalone program that could perform such scans. The conversion algorithm and glare-free technology have enabled it to produce digital versions of any Polaroid whatsoever. In the following article, we will look at how you can use Google Photos to digitize classical pictures.
Why use the PhotoScan by Google Photos?
As described earlier, the scanning feature of Google Photos is not built-in and is integrated into a separate mobile application, PhotoScan. First, let us see what makes PhotoScan a unique and incredible platform that can be used to digitize your favorite pictures on the go. When using PhotoScan, you won’t just be taking a picture of an image. Instead, the application creates an enhanced digital scan with automatic edge detection, perspective correction, and smart rotation.
These details need to be unified in a single image capture that can handle a range of input pictures. The original photo might be blurry from one side or contain film glare. Still, the scanned output you will see on the phone’s screen will be high-quality. Besides, you do not have to worry about the camera angles and light or dark environments. It will be a seamless process if you have a decent enough camera on the back of your smartphone.
Since Google Photos developed PhotoScan, you also enjoy the widely praised connectivity and syncing. This is used to back up these scans to keep them safe over the cloud. Moreover, once synced in a specific album, they are far more searchable and organized than before. It would also be possible to turn these digital pictures into movies, apply filters, or perform edits. Now, let us see how you can proceed with the process of digitizing a simple Polaroid.
Installing and setting up PhotoScan
Whether you are using an Android or an iOS device, the PhotoScan application will not be already installed on the phone by default. The same is not the case with Google Photos. All Android phones are shipped with the Photos app installed by the manufacturer. But when it comes to PhotoScan, you need to install it regardless of your operating system. Here it is important to note that the PhotoScan app and its features are free to use worldwide. There are no hidden charges or subscription fee models.
Step 1: Go to Google Play Store and download the PhotoScan mobile application.
Step 2: When the installation finishes, open the app. You will be shown a small animated tutorial for the scanning procedure. It depicts how a typical picture is scanned and processed using this application.
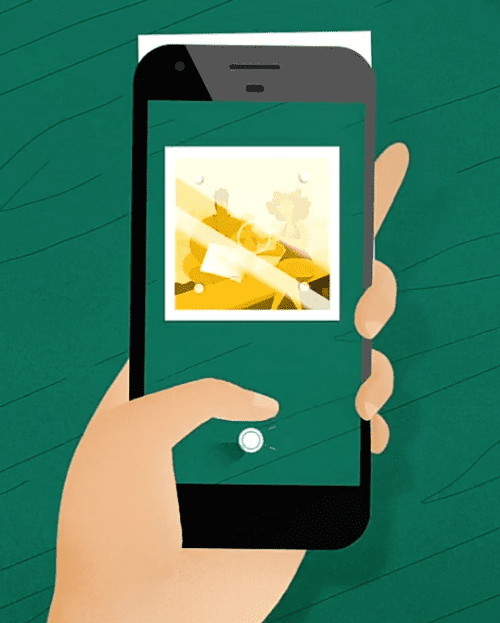
Animated tutorial
Step 3: To proceed, tap on the “Start Scanning” button at the bottom of your screen.
Start scanning button
Step 4: PhotoScan will now ask you to grant some permissions. These include taking pictures from the device’s camera and recording videos. Tap on “While using the app” or “Only this time.”

Allow PhotoScan to take pictures
Step 5: You must allow PhotoScan to access your device’s photos, media, and files. Tap on “Allow” to proceed.
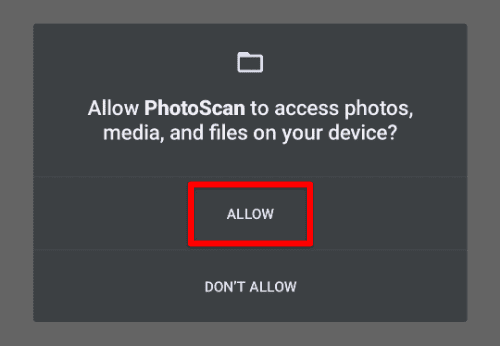
Allow PhotoScan to access photos
You will be redirected to the default window, which keeps the camera open. The PhotoScan is now ready to scan and digitize as many pictures as possible. Please note that access permissions are to be explicitly granted for the first time only. If PhotoScan has been previously used on that device, it won’t ask about these authorizations again.
Scanning a Polaroid with PhotoScan
Now that we have set up the PhotoScan app, the next step is to start scanning. When you open the application, it automatically loads the camera, and its preview is immediately visible on the screen. With that, you may start scanning at once. Ensure that lighting conditions are suitable and there are no irregular shadows and highlights in the field of view.
Step 1: Open the PhotoScan mobile application on your device. Make sure that you have positioned the photo within the frame.
Step 2: Tap on the capture button at the bottom. Doing so will capture the first picture and display four white markers in the camera preview. These markers are usually placed near the corners.
Step 3: Now, move the center of your view to the first marker. A loading icon will appear on your screen. Wait for it to finish capturing the second picture.
Step 4: When completed, you will see a small arrow directing you to move the camera to the next marker. Repeat this process for the remaining three markers.
Step 5: A green tick icon will appear inside the last marker. This shows that the scan has been completed. The digitized image preview will now appear in the bottom right corner.
When scanning pictures, you will notice two icons in the bottom left. One is for toggling the camera flash, whereas the other is for turning glare removal on and off. To scan pictures faster, you may turn off glare removal. Doing so would allow quicker scans without moving your camera to these separate markers. Avoiding glare in such a formation will be challenging, so we recommend enabling it.
Flash and glare removal icons
Post-processing of the digitized image
After turning your Polaroid into a digital image, explore several post-processing options within PhotoScan. When you click on its image preview, your device opens the digital photo in full-screen mode.
Step 1: Notice that there are three options displayed at the bottom. If the scan was unsatisfactory, tap on “Delete” and try scanning the picture again.
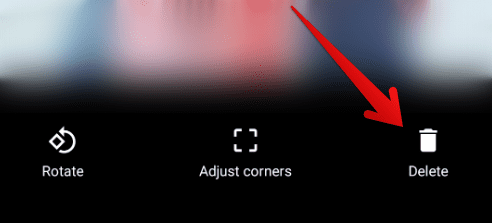
Deleting a scan
Step 2: In some cases, PhotoScan may fail to capture all corners effectively. This usually happens when a picture is scanned with similar colors in the background. If that is the case, tap on “Adjust corners” to make minor adjustments manually.
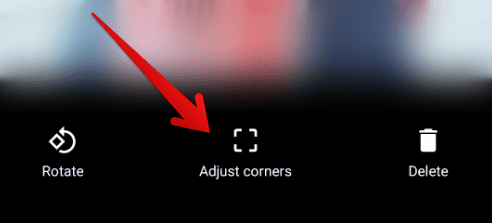
Adjusting corners
Step 3: Drag the four white markers on the actual corners. Once everything looks OK, tap on “Done” to proceed.
Step 4: If you scanned a portrait picture in landscape view or vice versa, use the “Rotate” button to move it around.
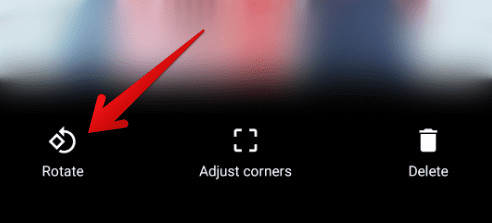
Rotating the scan
The digitized photo will be automatically saved in your Google Photos account. Syncing takes place as soon as the scan is finished. For downloading it, go over to the “Photos” application. Besides, there is a “Share” icon inside PhotoScan. You may use it to send that image to nearby devices via Bluetooth.
Tips for scanning a Polaroid with PhotoScan
Digitizing pictures from your mobile phone is enough of a feat in itself. Remember that there can be some issues, especially if someone has not scanned an image before. For those looking to digitize a lot of old Polaroids with PhotoScan, the following are some valuable tips for better results,
1. Do not tilt your phone while scanning. Even if PhotoScan has trailblazing sophistication, it is still preferred that the user keeps the capture as reasonable as possible.
2. To better frame your photo, place the image on a flat surface with a contrasting background. Avoid scanning while keeping the picture on carpet or other low-contrast surfaces. Doing so helps the application to recognize picture edges and corners better.
3. To scan vertical photos, hold your phone vertically. For scanning horizontal ones, hold them in landscape mode. That way, it is far easier to fit the entire picture while capturing.
4. To help remove residual glare and shadows, and get better images, make sure the camera flash is turned on. It may not make intuitive sense to remove glare, but PhotoScan does perform better in such settings.
5. If too much glare, move to a place with less surrounding light or try capturing the image from some distance.
6. Polaroid pictures are usually kept inside laminating sheets or sleeves. Before scanning, take them out so that PhotoScan could take in as much pixel information as possible. If the photo is in a glass frame, turn on your flash.
7. After a scan is complete, look at the digital preview. If there are issues with the final output, try scanning one more time with better light settings and camera angles.
Conclusion
Since its launch, Google Photos has been regularly upgrading its feature bucket. Typically, you only imagine it as a backup or secondary gallery for locally stored pictures. That is not the case anymore. The PhotoScan app by Google Photos allows for turning old Polaroids into digital images. Scanned copies are immediately uploaded to the main cloud with the rest of your already uploaded pictures.
