Learning how to create and scan QR codes on ChromeOS is nothing but an effortless procedure thanks to a specific web-based tool. We’ll be going through the necessary steps to make that happen step-by-step so you’re not left behind in any way whatsoever. Keep on reading to discover, therefore, how QR codes are made on the web.
Chromebooks are highly accessible machines that allow ChromeOS users to get their work done on the fly. The sheer number of accessibility tools and features that these devices employ is nothing to ignore, thereby tending to various audiences. If QR codes are what you need to learn to create, Chromebooks will help you tend to them just as well.
Let’s dive right into the heart of the article with no further ado.
- In the meantime: How to multitask like a pro on Chromebooks.
What are QR codes?

Chrome Ready QR code
The acronym “QR” stands for Quick Response, which is self-explanatory once you understand how these codes work. It’s machine-readable and is commonly used worldwide to allowrs to gain quick access to whatever website the code belongs to.
Even restaurants have started to give their menus out in the form of QR codes, allowing you to view the different listings on your smartphone painlessly. Personally speaking, we highly disagree with the concept here. Anyhow, back to the gist of it, QR codes can be scanned using various devices, explicitly ones with a camera attached to the chassis.
They’re highly convenient and provide different industries, brands, domains, and other entities to provide their audience wi,th a quick, scannable link that takes them from one point to the other. If you have been thinking of creating a website, having a dedicated QR for the start-up can make things easier for you in the long run.
Without wasting any, more time, then, let’s get into QR codes more in-depth and talk about how to create and scan them on a Chromebook. To put, it simply, ahead of the forthcoming subsection, none of these two processes are difficult.
Creating and scanning QR codes on ChromeOS
Creating and scanning QR codes are two different notions. We’re going to break both of them into separate subsections, so you’ll find it easier to understand what needs to be done. Let’s begin with creating a QR code.
How to create a QR code on a Chromebook
Creating a QR code is straightforward, given that you know what strings to pull. Although there are several different tools and websites to rely on for achieving the purpose at hand, we’re going to focus on just one—the QR Code Generator. It’s free, fast, simple, and will cater to your QR code-creating needs on the go without the extra effort.
To get started, head over to the official QR Code Generator website. We recommend signing up first to unlock more features and enjoy more flexibility when creating a QR code. Since registering an account provides you access to premium-grade features, you’ll have limited time until the free trial runs out. However, it’s still plenty to get what we want.
Once you sign up, you’ll visualize the following dashboard on the screen. Click on the “Create QR Code” button to get to the next step.

Creating a new QR code
After clicking on “Create QR Code,” your next task will be selecting the type of QR code you’d like to create for yourself. For this guide, we’ll use the “Website” option as an example, but you’re free to choose otherwise. Click on the “Next” button at the bottom of the page once you’re done picking your QR code type to move forward.
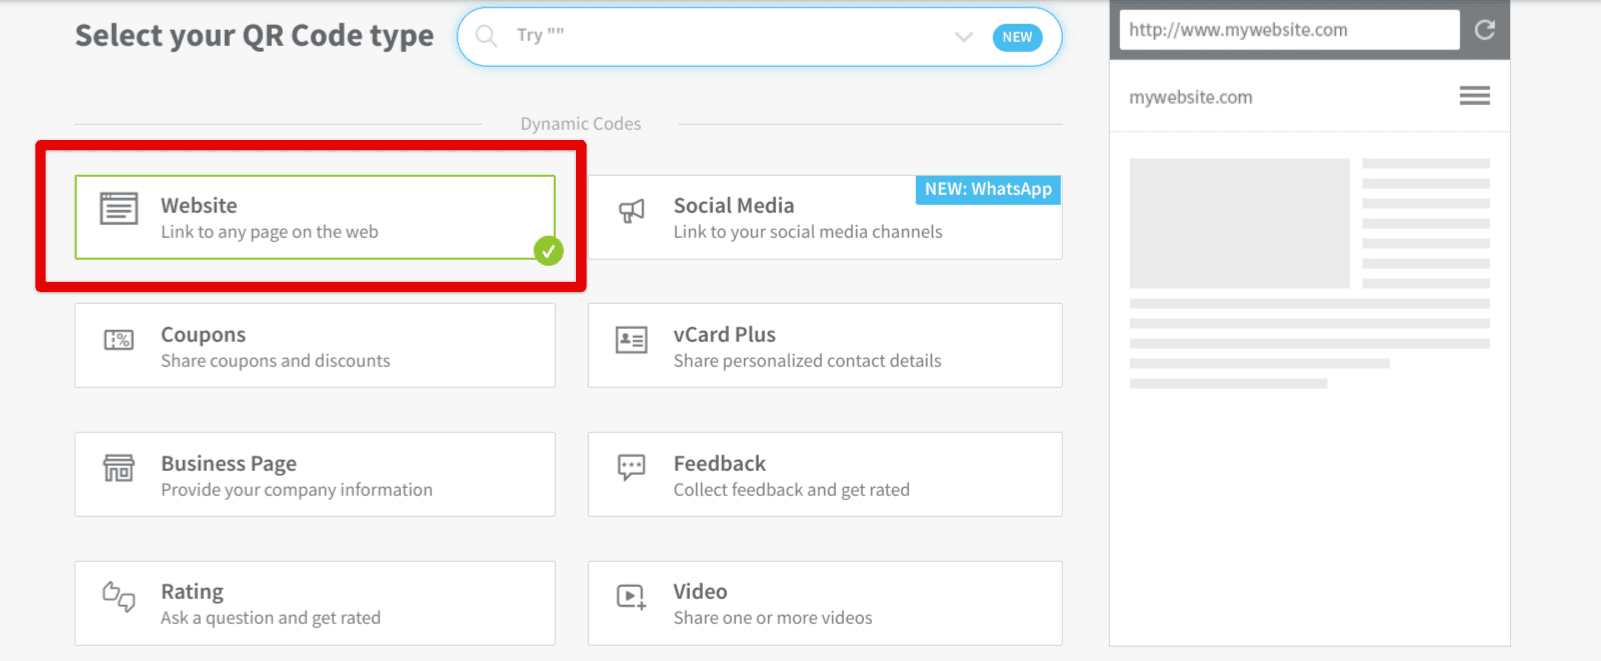
Choosing the type of QR code
After choosing your desired type of QR code, the next step is to name it and put a link in, so the QR code can redirect users to wherever you want them to be. This step is utterly essential, so please be cautious of what you enter here. Click on the “Next” button to move forward with the process.
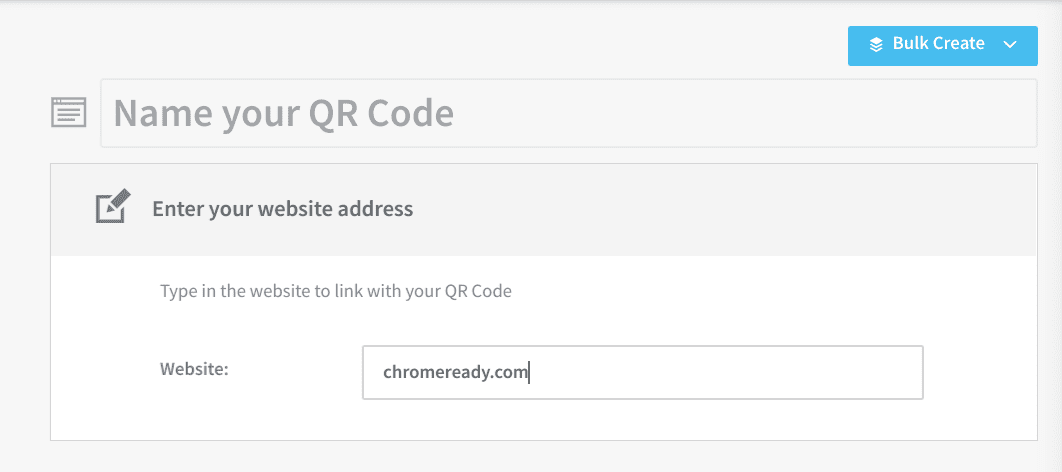
Entering the name of the website
Now, after clicking on the “Next” part, a page will load up, taking you back to the dashboard area of the QR Code Generator website while allowing you to customize your QR code just as well. This is honestly our favorite part. There are all sorts of facets of the QR code that the website lets us tweak and enhance, depending on our preferences,
From the frame of the QR code and its layout to the way the logo will transition, the tool gives you complete control over your QR code’s baseline. Take some time to review all the customization options the website brings forth to its users. When you’re done, click the “Download” button to finalize the process.
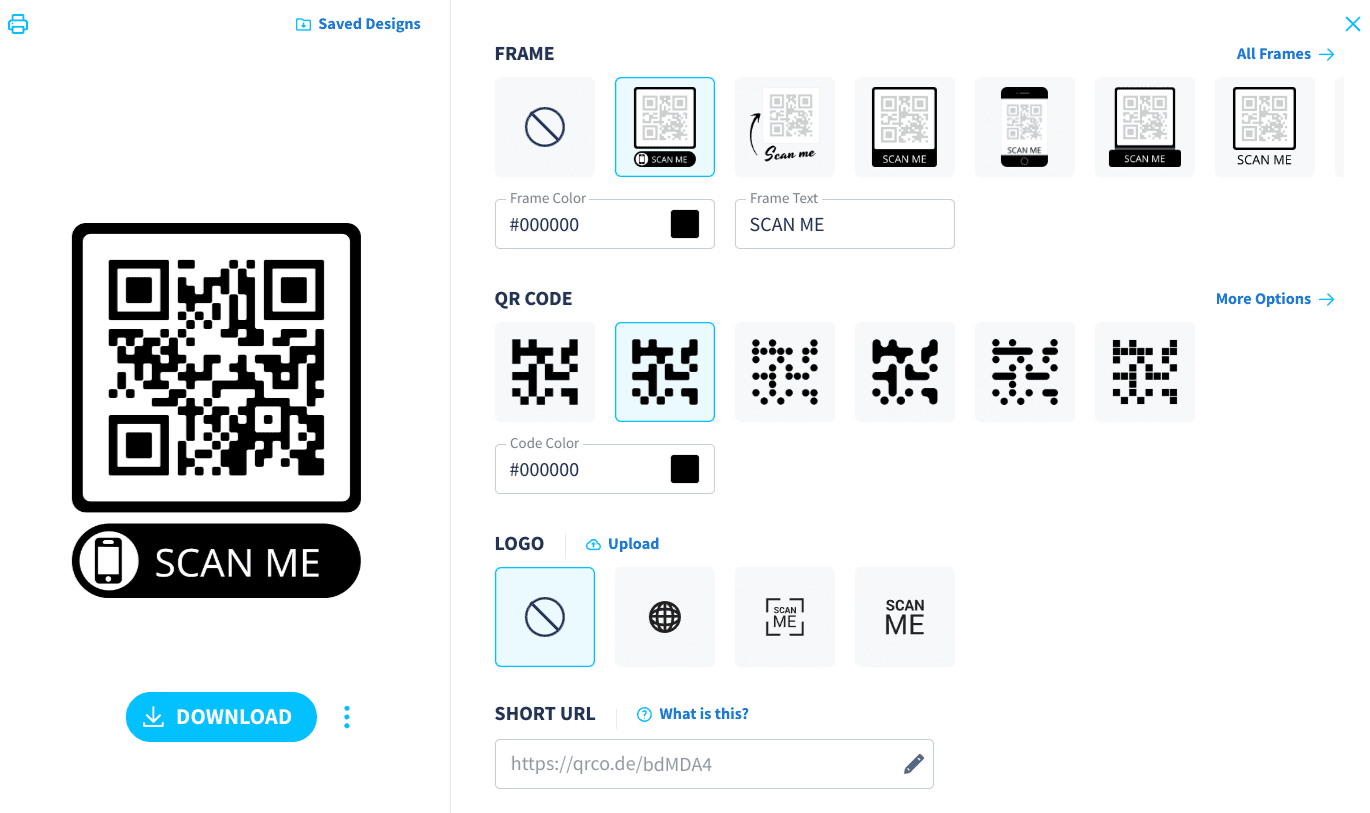
QR code customization
There you have it,, then! You’ve successfully learned how to create a QR code all by yourself. The procedure is nothing challenging to implement on your end, so you should be able to replicate the guidelines above painlessly. Now that we’re done with the first part of the guide let’s delve further and talk about scanning QR codes on a Chromebook.
How to scan a QR code on a Chromebook
Fortunately, Chromebooks make it relatively easy to scan QR codes. They’ve got a built-in functionality to help users deal with the matter, so you do not have to stray toward any third-party solutions to get it done. All you need to do is fire up the Camera application on the device and select the “Scan” feature to begin with.
Let’s take a look at Chromebooks can scan QR codes right out the gate with the help of the following steps.
1. The first step is to search for the Camera application on your Chromebook. Use the “Search” key to get over it quickly.
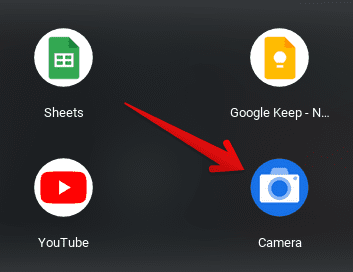
Launching the ChromeOS camera
2. As soon as the Camera app is up and running, click on the “Scan” button to get to the next step.
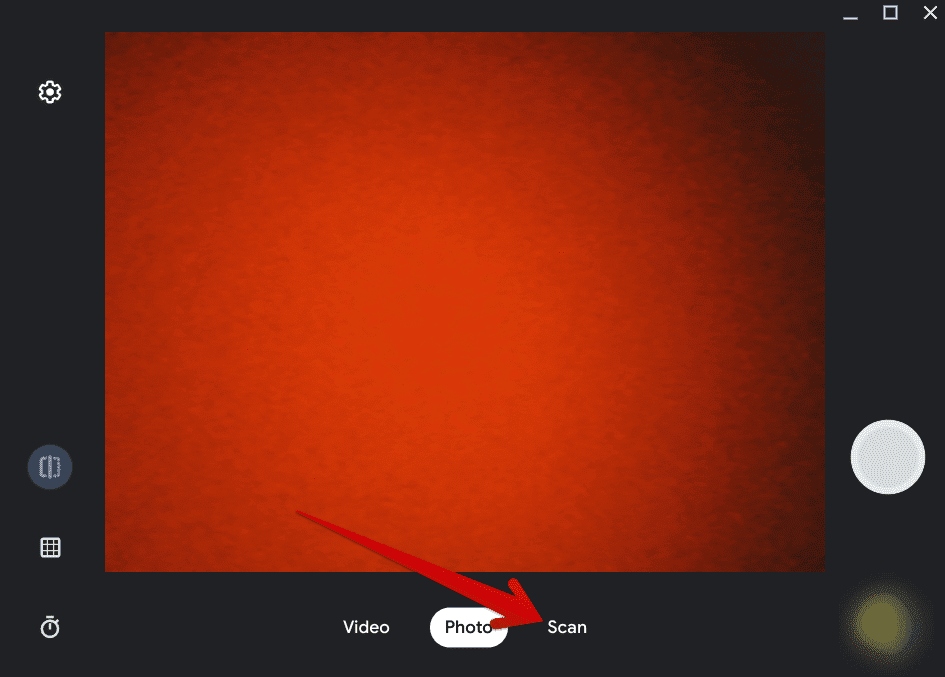
Clicking on the “Scan” button
3. Clicking on “Scan” will flip a particular switch within the Camera application and allow you to click on the “QR Code” button to take things further. On a side note, you may use the “Scan” feature to scan your documents on your Chromebook. The idea now is to center the QR code in the center of the QR code scanner area to kick things into motion.
That way, you will successfully be able to get things done on your end, minus any potential inconvenience. 2-in-1 Chromebooks with a rear camera, such as the Lenovo Chromebook Duet 3, may employ this functionality more profoundly.
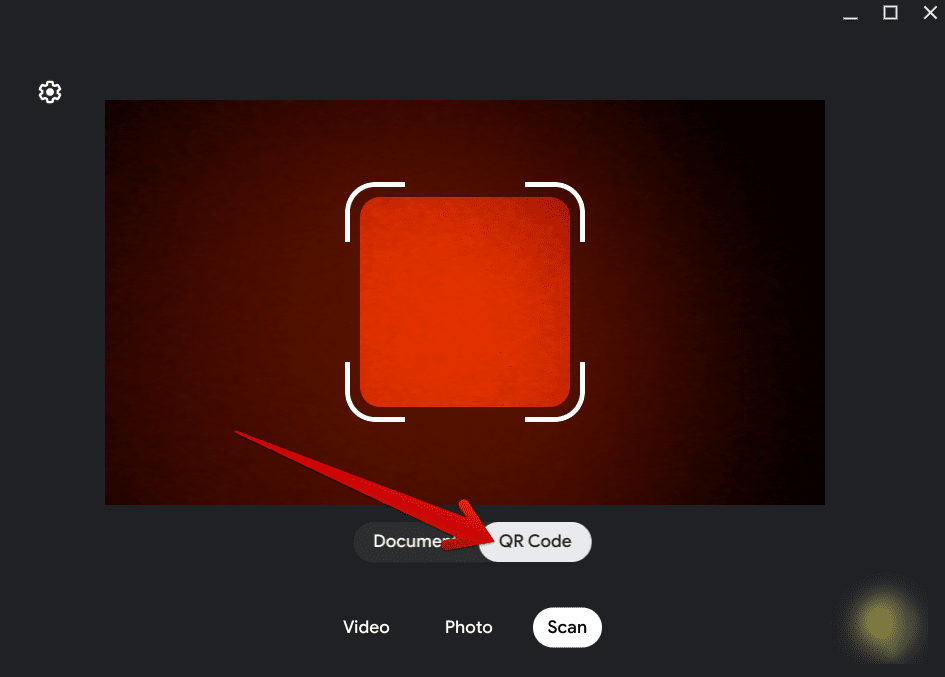
Selecting the “QR Code” option
That’s about it! You’ve now learned how to create a QR code on your Chromebook and scan it just as well. We hope you’ve imparted workable knowledge from this guide as it’s time to conclude the write-up.
Conclusion
Chromebooks are effective machines that can push users to be more productive, given the simplified operating system they sport daily. ChromeOS takes about 10 seconds to boot up from a shut-down point, making your workspace as efficient as possible.
In this guide, we’ve learned the exact process you’ll use to create and scan QR codes on your Chromebook from now on, so it’s imperative that you replicate the guidelines diligently for the best results. Do let us know in the comments section ahead whether you found the write-up helpful or not.
As always, Chrome Ready wishes you good luck!
